Use the InVivo integration to start your Anatomage InVivoDental software and go to a patient's InVivo images directly from
(If you have Edge Imaging, you can activate the integration directly from your Edge Imaging Integrations options. See "Edge Imaging / InVivoDental Integration" for details.)
This integration is user-specific: You must activate the integration on each workstation where you would like to use it.
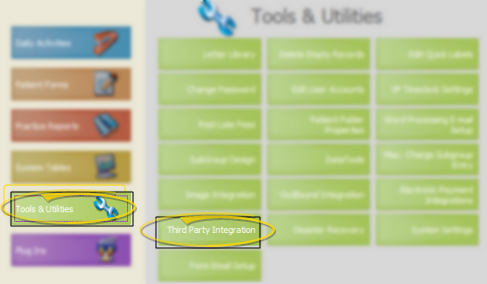
Open Third Party Integrations - ViewPoint main menu > Tools & Utilities > Third Party Integrations.
Create integration - Click New and enter your integration details.
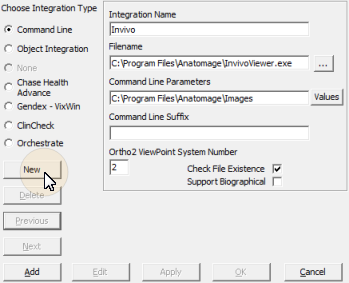
Integration type - Choose the  Command Line integration type.
Integration name - Type a name for your integration, such as Invivo.
Filename - Navigate to the location of your InVivo.exe file.
Command line parameters - Type the location of your Invivo image files (where your .amg and/or .inv files are located).
Values - Ignore this option; ViewPoint automatically pulls the appropriate data values as you run the integration.
Command line suffix - Leave this field blank.
Ortho2 ViewPoint System Number - Enter 2 in this field.
 Check file existence - Enable this option.
 Support biographical - Disable this option.
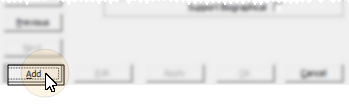
Finish - Click Add to submit your details, and Ok to complete the process.
Click Add:
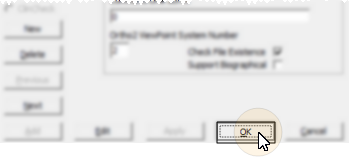
Then click Ok to exit the integration window.
Confirm patient identification - Confirm that patient records in your InVivo database have the same Patient ID number as the corresponding ViewPoint patient folder.
View InVivo patient files - When you select InVivo from the ViewPoint toolbar Third-Party Integration icon, you see a list of the InVivo images for the active patient. Select an image to open it in your InVivo software.

Edit integration - If you need to edit the integration, for example, to change a path, open your Third Party Integration tools, and use the Next / Previous buttons to select the integration to work with. Then, click Edit. Make your changes and click Apply. Then click Ok to exit.
Open your Third Party Integration tools:
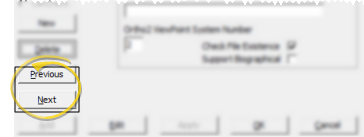
Use Previous / Next to select the integration to work with.
Click Edit.

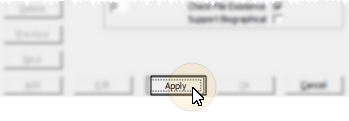
Make your changes and click Apply to save the changes.
Finally, click Ok to exit the integration dialog.
Remove integration - To remove the ViewPoint integration, open your Third Party Integration tools, and use the Next / Previous buttons to select the integration to work with. Then, click Delete.
Open your Third Party Integration tools:
Use Previous / Next to select the integration to work with:
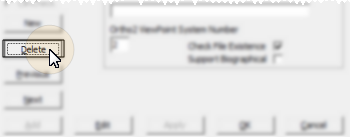
Click Delete.
Confirm your action, then click Ok to exit the integration dialog.
Integration support - Ortho2 can help you with questions you have about system requirements, integration setup, and using your integrations within our system. However, you will need to contact the third-party supplier for specific details about using the integrated module.
 │
│  │
│  │
│ 
Ortho2.com │1107 Buckeye Avenue │ Ames, Iowa 50010 │ Sales: (800) 678-4644 │ Support: (800) 346-4504 │ Contact Us
Chat with Software Support │Chat with Network Engineering │ Chat with New Customer Care
Remote Support │Email Support │ Online Help Ver. 12/18/2015


