Use the ClinCheck integration to open Align Technology’s ClinCheck website and pass the patient’s ClinCheck ID to help you download the desired ClinCheck details.
This integration is user-specific: You must activate the integration on each workstation where you would like to use it.
License agreement - Sign and return the Align Technology ClinCheck Software License Agreement Amendment to Ortho2.
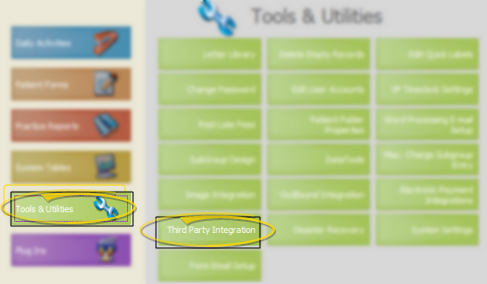
Open Third Party Integrations - ViewPoint main menu > Tools & Utilities > Third Party Integrations.
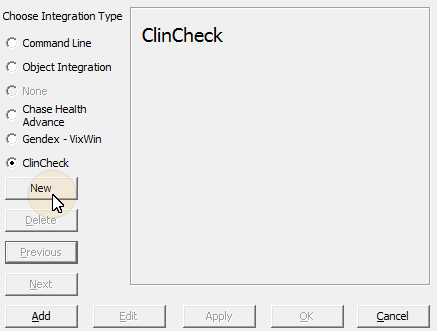
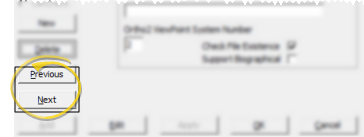
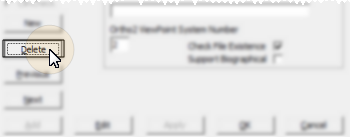
Create integration - Click New and select the ClinCheck option.
Finish - Click Add to submit your details, and Ok to complete the process.
Activate log in - Before working with ViewPoint patients, log into the Invisalign ClinCheck site through the Doctor VIP Login.
Launch ClinCheck site - When you select ClinCheck from the ViewPoint toolbar Third-Party Integration icon, then choose the ClinCheck action, you are taken to the ClinCheck site for the active patient folder. (If the patient does not have a ClinCheck ID, you are instead directed to the Edit ClinCheck ID dialog, described below.)
Create / edit ClinCheck ID - Select ClinCheck from the ViewPoint toolbar Third-Party Integration icon, then choose the Edit ClinCheck ID to add or edit a patient's identification code.
You can then enter a new ClinCheck ID to assign to a patient, or to overwrite an incorrect ID.
Open - After entering the new ClinCheck ID, click Open to open the patient in the ClinCheck web site.
Save - After entering the new ClinCheck ID, click Save to save your changes and return to ViewPoint.
Edit integration - If you need to edit the integration, for example, to change a path, open your Third Party Integration tools, and use the Next / Previous buttons to select the integration to work with. Then, click Edit. Make your changes and click Apply. Then click Ok to exit.
Open your Third Party Integration tools:
Use Previous / Next to select the integration to work with.
Click Edit.
Make your changes and click Apply to save the changes.
Finally, click Ok to exit the integration dialog.
Remove integration - To remove the ViewPoint integration, open your Third Party Integration tools, and use the Next / Previous buttons to select the integration to work with. Then, click Delete.
Open your Third Party Integration tools:
Use Previous / Next to select the integration to work with:
Click Delete.
Confirm your action, then click Ok to exit the integration dialog.
Integration support - Ortho2 can help you with questions you have about system requirements, integration setup, and using your integrations within our system. However, you will need to contact the third-party supplier for specific details about using the integrated module.
│
│
│
Ortho2.com │1107 Buckeye Avenue │ Ames, Iowa 50010 │ Sales: (800) 678-4644 │ Support: (800) 346-4504 │ Contact Us
Chat with Software Support │Chat with Network Engineering │ Chat with New Customer Care
Remote Support │Email Support │ Online Help Ver. 12/18/2015