ViewPoint main menu > System Tables > Patient > Professional.

You can also open your Professional table from the Patient tab of the patient folder.
Add and maintain Professional records for the consulting and treating professionals, such as oral surgeons, pedodontists, and periodontists, that work with your patients. Each record includes the professional's name, practice name, address, phone number, several user-defined fields, and a notepad you can use to add additional information.
Watch video tutorial. (Windows Media Player, an active Internet connection, and a valid Ortho2 customer login are required to run video tutorials, webinars, and training programs.)
Dentist records - Use the Dentist table rather than the Professional table to set up records for dentists that work with your patients. See "Set Up Dentist Records" for details.
ViewPoint main menu > System Tables > Patient > Professional.
You can also open your Professional table from the Patient tab of the patient folder.
Choose professional type - When you first open the Professional  Show Inactive option if you need to view the entire list.
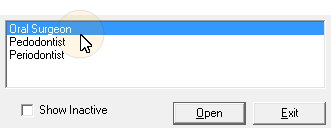
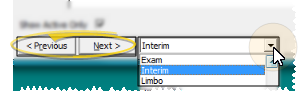
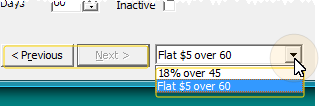
Choose Record to Work With - Use the Previous and Next buttons, or the dropdown button at the bottom of the table window to choose an existing record to work with.
(Enable the
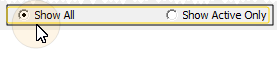
Display Active / Inactive Records - You can choose whether to include inactive records in your list.
Create new record- Click New. Then complete the details, described below.

Edit professional details- Select a record to work with. If you just created a new record, it is selected automatically.
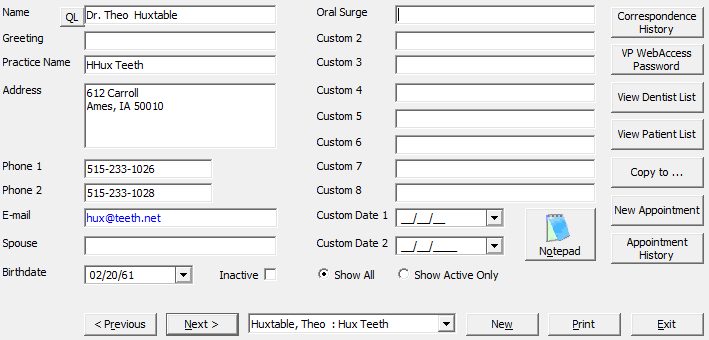
Name / Practice - You can change the name if needed. Note that once saved, you can use either the professional or practice name to open the record.
Biographical / contact info - Enter the address, phone number and e-mail address of the professional or practice.
Personal info - You can optionally include personal information, such as a spouse name and birthdate.
Inactive / active toggle - Once you create a record, you cannot delete it. You can, however, flag it Inactive. Inactive records cannot be selected for your patients. You can, however, change them back toActiveif needed.
User-defined fields - Use the User Defined Fields
Print Label - Click the QLbutton to print a Quick Label for this person. See "Print Mailing Labels & Quick Labels" for details.
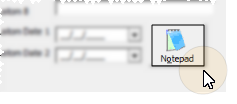
Review / edit notepad - Use the notepad to type free-form notes. You can categorize your notes
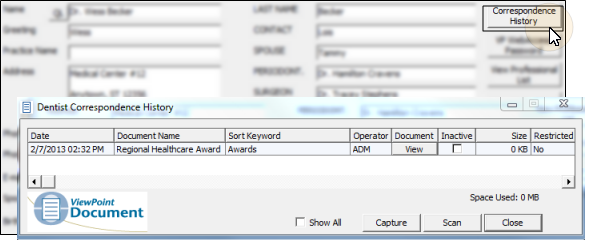
Correspondence history- ClickCorrespondence Historyto review the e-mail messages, mail merge documents, forms, and other correspondence you have captured and scanned for this party.See "Correspondence History" for details.
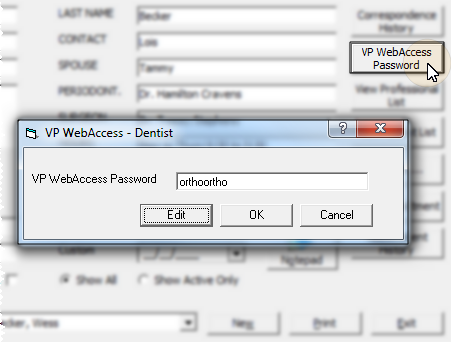
VP WebAccess Password - Click VP WebAccess Password, to change the online password for this party. You or the individual may also change the password from within the VP WebAccess system.
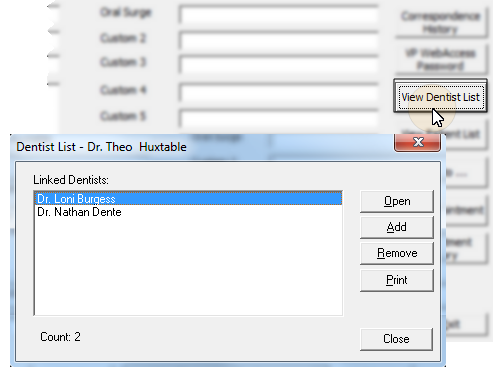
View dentist list - Click View Dentist List to maintain the list of dentists that prefer to work with this processional. From this window, you can link another dentist, remove a dentist from the list, print the list, and open the record of a linked dentist.
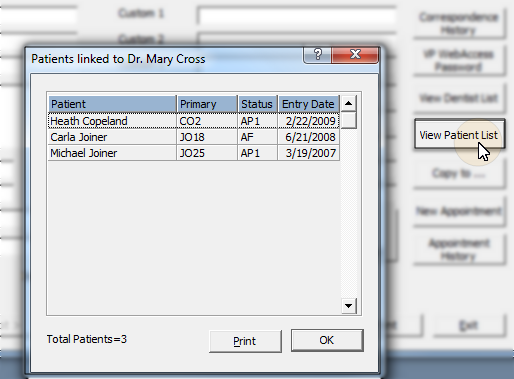
View patient list - Click View Patient List to see the patients whose Patient tab lists this individual as a professional.
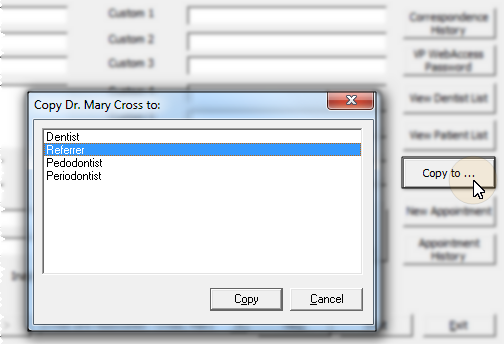
Copy to - Click Copy To, then select the table where you would like to add a copy of this record. This feature is useful for quickly adding individuals that serve various roles (dentist, professional, referrer) to your database. In addition, duplicate records created in this manner remain linked, so that when you change a name or address in one record, the linked record is updated also.
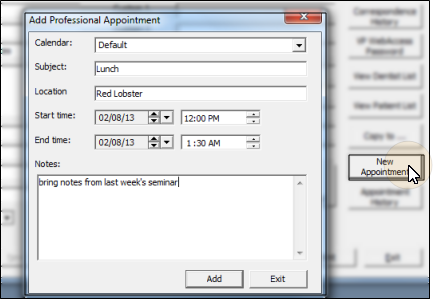
Schedule an appointment - Click New Appointment, then complete the details about an upcoming appointment you have with this party. (This feature is not for scheduling patient appointments.) The appointment is saved to your Office Calendar, where you can review and edit the appointment details as needed. See "View Your Office Calendar" for details.
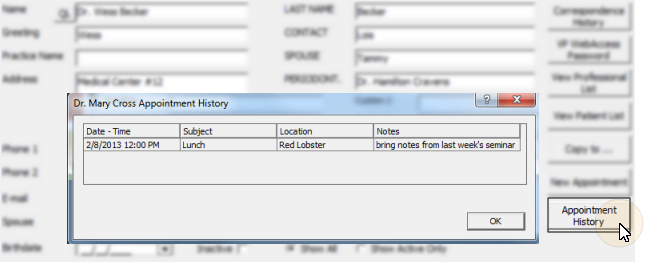
View appointment history - Click Appointment History to view the dates, times, and notes of current and past appointments that were scheduled with this party on your Office Calendar. Note that you can only review the appointment details here: You must go to your calendar to edit or delete the appointment. See "Add & Edit Office Appointments" for details.
Print - Click Print to generate a list of your professional records. The Professional List - Comprehensive also provides you with a list of the records.
Save your changes - Click
 │
│  │
│  │
│ 
Ortho2.com │1107 Buckeye Avenue │ Ames, Iowa 50010 │ Sales: (800) 678-4644 │ Support: (800) 346-4504 │ Contact Us
Chat with Software Support │Chat with Network Engineering │ Chat with New Customer Care
Remote Support │Email Support │ Online Help Ver. 12/18/2015


