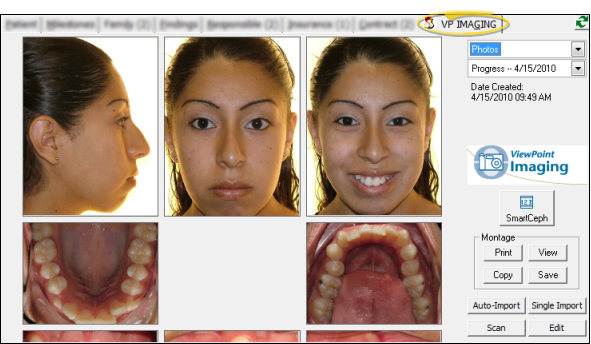
Patient Imaging Tab
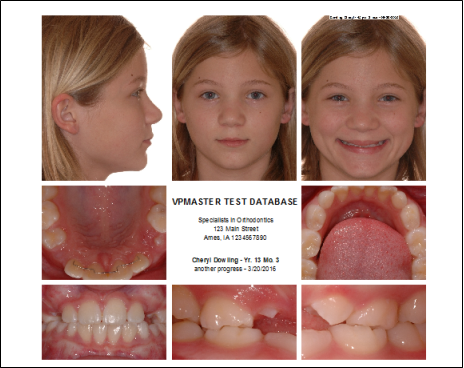
When you integrate your patient folders with VP Imaging, the Imaging tab of the patient folder shows you the images you have imported for this patient. You can select to view the images in any of your available layouts, and choose which timepoint to display.
VP Imaging vs. Edge Imaging - This article is for use with VP Imaging: If you use Edge Imaging for ViewPoint, opening the Imaging tab of a patient folder will open your Edge Imaging module, with the patient's images loaded. See "Patient Imaging Page" for details.
How to Get Here
![]() Open Patient Imaging Page - You can open this feature in multiple ways: Use the method that's most convenient for you.
Open Patient Imaging Page - You can open this feature in multiple ways: Use the method that's most convenient for you.
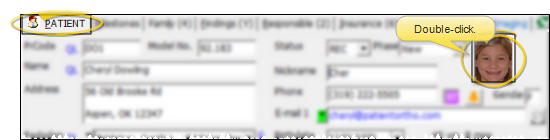
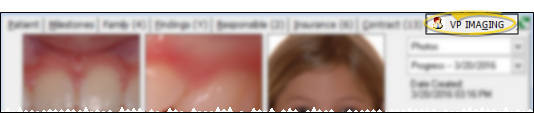
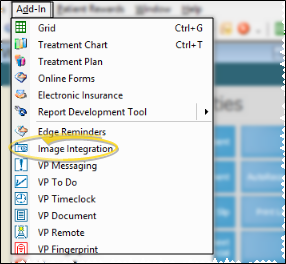
 Image Integration icon. If a patient record is already active, that patient's information will be loaded automatically. Otherwise, you use Fast Find (either typing information or swiping a registered reward card) to search for the patient to work with.
Use This Feature
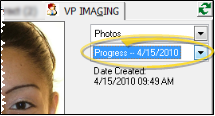
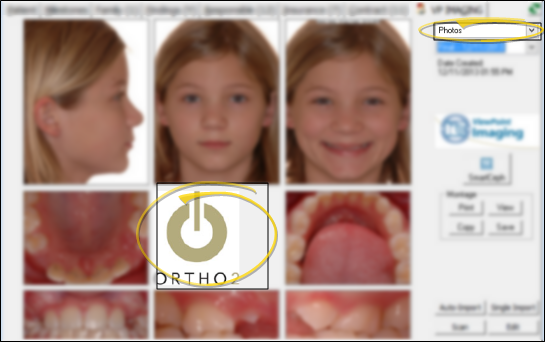
![]() Choose a Layout - Click [V] in the layout field and select from your list of layouts (i.e. Photos, X-Rays). The images shown, and the way they look on your screen depends upon your layout settings.
Choose a Layout - Click [V] in the layout field and select from your list of layouts (i.e. Photos, X-Rays). The images shown, and the way they look on your screen depends upon your layout settings.
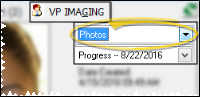
![]() Choose a Timepoint - Click [V] in the timepoint field and select from the timepoints available for this patient (i.e. Initial, Progress, Final).
Choose a Timepoint - Click [V] in the timepoint field and select from the timepoints available for this patient (i.e. Initial, Progress, Final).
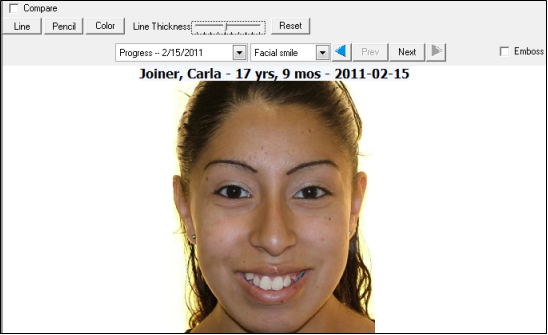
![]() Maximize and Compare Images - Double-click to maximize an image to display that single image as large as possible in the imaging window, providing a closer look at the patient's condition. You can also compare two patient images side-by-side to better present treatment progress. See "Maximize & Compare Images" for details.
Maximize and Compare Images - Double-click to maximize an image to display that single image as large as possible in the imaging window, providing a closer look at the patient's condition. You can also compare two patient images side-by-side to better present treatment progress. See "Maximize & Compare Images" for details.
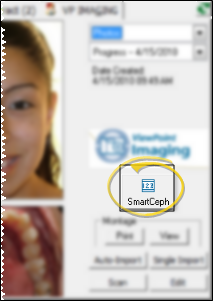
![]() Open SmartCeph - (SmartCeph is part of Premier Imaging, an optional module, available from Ortho2.) You always open SmartCeph for a specific patient (even if you only want to open the software to check some system settings).
Open SmartCeph - (SmartCeph is part of Premier Imaging, an optional module, available from Ortho2.) You always open SmartCeph for a specific patient (even if you only want to open the software to check some system settings).  SmartCeph icon.
![]() Image Montage - Use the Montage tools of your VP Imaging module to view, copy, and print a one-page montage of your patient's treatment photos. You may optionally include your practice logo in the center of the montage. See "View & Print Photo Montage " for details.
Image Montage - Use the Montage tools of your VP Imaging module to view, copy, and print a one-page montage of your patient's treatment photos. You may optionally include your practice logo in the center of the montage. See "View & Print Photo Montage " for details.
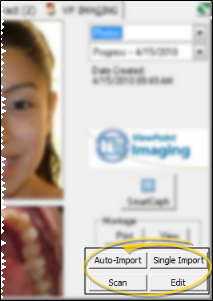
![]() Add Images - You can auto-import a series of images, single import individual images, and scan images directly into the patient folder.
Add Images - You can auto-import a series of images, single import individual images, and scan images directly into the patient folder.
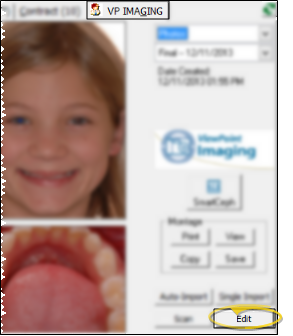
![]() Edit Images - Use the VP Image Editor to manipulate the images you have imported and scanned into your patient folders. See "Edit Patient Images" for details.
Edit Images - Use the VP Image Editor to manipulate the images you have imported and scanned into your patient folders. See "Edit Patient Images" for details.
![]() Print / Copy / Save an Image - Right-click an image, then select to print, copy, or save it.
Print / Copy / Save an Image - Right-click an image, then select to print, copy, or save it.
More Information
![]() Logo - You can optionally add your logo to the center of the photos layout to enhance the presentation of your patient photos. To enable this feature, copy a graphic file of your practice logo in the folder where ViewPoint is installed (generally c:\program files\ortho2). Name the file logo.jpg. If ViewPoint does not find a logo.jpg file in the installation folder, the center of the photos layout will be blank.
Logo - You can optionally add your logo to the center of the photos layout to enhance the presentation of your patient photos. To enable this feature, copy a graphic file of your practice logo in the folder where ViewPoint is installed (generally c:\program files\ortho2). Name the file logo.jpg. If ViewPoint does not find a logo.jpg file in the installation folder, the center of the photos layout will be blank.
![]() Go to Previous / Next Patient - While viewing any tab of a patient folder, you can click <--
Previous and -->Next on the ViewPoint toolbar to navigate to the prior or next patient, alphabetically by last name.
Go to Previous / Next Patient - While viewing any tab of a patient folder, you can click <--
Previous and -->Next on the ViewPoint toolbar to navigate to the prior or next patient, alphabetically by last name.

Simultaneous Access - You may open multiple patient folders simultaneously, and multiple users may open the same patient folder simultaneously. However, multiple users cannot change the same field in the same patient folder at the same time.
![]() Resize the Window - Hover your cursor at a corner of
the window, then click and drag to the desired size. ViewPoint remembers you preferred size, even after you exit and
re-enter.
Resize the Window - Hover your cursor at a corner of
the window, then click and drag to the desired size. ViewPoint remembers you preferred size, even after you exit and
re-enter.
