Scan Images
Use the Scan tool to add one or more individual images to a patient folder, directly from your local scanning device. You can scan an image into a previously unused image type, or overwrite a patient's existing image.
VP Imaging Only - This article describes a feature of VP Imaging: If you use Edge Imaging for ViewPoint instead, it does not apply to you. See "Scan Patient Images" for details about a similar Edge Imaging feature.
Get Started
Prepare Your Scanner - Be sure your scanner is prepared to work with your computer system. It is generally unnecessary to take digital images at full resolution: Doing so may significantly slow down the operation of your VP Imaging Editor, and will require images to be converted each time they are viewed on screen. In addition, all imported and scanned images with a width or height over 1280 are converted to a width or height of 1280 to prevent significant slowing down of the VP Imaging system.
Use This Feature
-
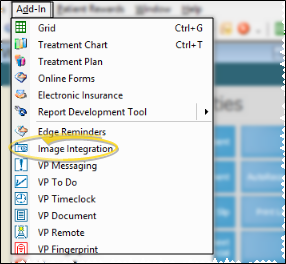
 Open Patient Imaging Page - You can open this feature in multiple ways: Use the method that's most convenient for you.
 -
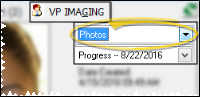
Choose Layout - Click the drop down button to select the layout you want to work with (i.e. Photos). You do not need to select the timepoint (i.e. Progress) yet.
-
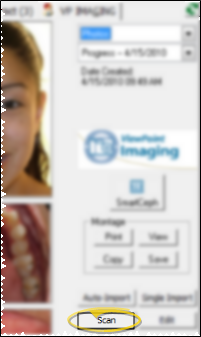
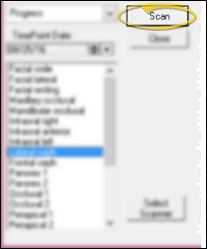
Initiate Scan - Click Scan at the bottom-right of the screen.
-
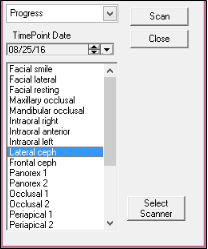
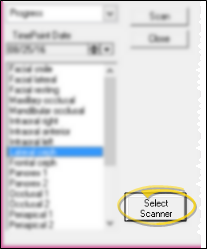
Choose Image Details - Choose the image you want to scan, then select the timepoint, the timepoint date, and the image type to assign to this image.
-
Select Scanner - (Optional.) If you have multiple scanning devices available to your workstation, click Select Scanner to choose the device to use. If you do not select the scanner now, you may be prompted to do so later, if required.
-
Start Scan - Click Scan to initiate your scanning software. (If you have not previously selected a scanning device, you may be prompted to do so now.) If this action will overwrite an existing image, you must confirm the action before continuing. Proceed with previewing and scanning the image, as required by your scanner. (Refer to your device documentation for details.)
-
Scan Additional Images - You may repeat this process, scanning additional single images into this layout and timepoint as needed. The "Count" field indicates the number of images you have imported so far. When you have finished, click Close to exit.
-
Review Images - Once the images have been scanned, you will see the Image Editor, with the layout of the new images. You may now edit images, or simply save them as-is.
-
Save Images - When you are ready, click Save
to save the current images and continue editing, or click Save and Exit to save the files and return to the patient's Imaging tab.If your
VP Imaging system is set to burn labels onto this type of image, the label
is imprinted at this time.
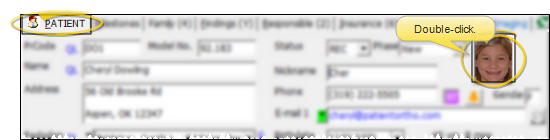
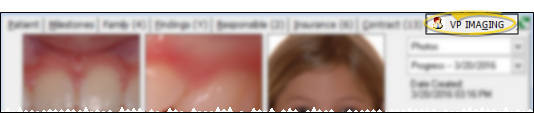
 Image Integration icon. If a patient record is already active, that patient's information will be loaded automatically. Otherwise, you use Fast Find (either typing information or swiping a registered reward card) to search for the patient to work with.