Time Point Names Table
The default timepoint that come with your imaging system will likely meet most of your needs. Although you always have the option of creating additional time points when importing images, we recommend reviewing the list and deciding ahead of time what time points you want to use, and entering them as default time points. This will help maintain consistency, and provide for effectively using patient images in your mail merge documents.
VP Imaging Only - This article describes a feature of VP Imaging: If you use Edge Imaging for ViewPoint instead, it does not apply to you. See "Default Time Points Options" for details about a similar Edge Imaging feature.
How to Get Here
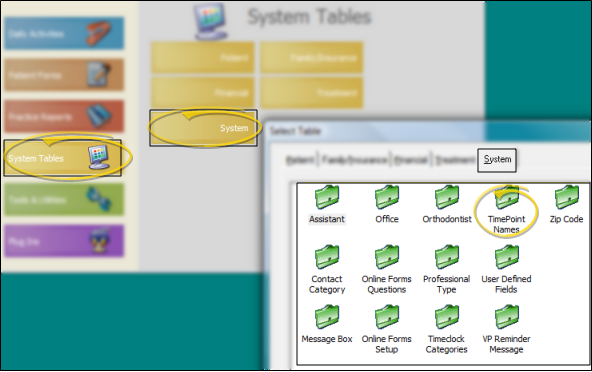
![]() Open Timepoint Names Table - ViewPoint main menu > System Tables > System > Timepoint Names.
Open Timepoint Names Table - ViewPoint main menu > System Tables > System > Timepoint Names.
Choose Your Settings
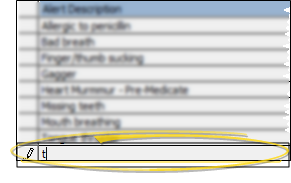
![]() Add a Description - Click in a blank field at the bottom of the
Add a Description - Click in a blank field at the bottom of the
Edit Descriptions - Click in the field you want to modify and type your changes, or cut, copy, and paste as needed. Existing patient images retain their original timepoint descriptions.
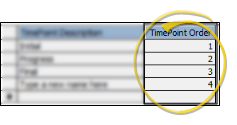
![]() Reorder Timepoints - You can define the order the timepoints appear in VP Imaging by re-numbering the list in the Timepoint Order column.
Reorder Timepoints - You can define the order the timepoints appear in VP Imaging by re-numbering the list in the Timepoint Order column.
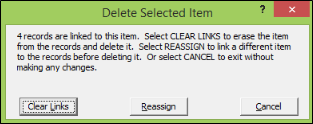
![]() Delete Descriptions - Select the record to work with, then press Delete on your keyboard. If the record is linked to patient folders, you can reassign them to a different description, or clear the links.
Delete Descriptions - Select the record to work with, then press Delete on your keyboard. If the record is linked to patient folders, you can reassign them to a different description, or clear the links.
Save Your Changes - Click Close to save the changes you have made and close the editing window.