Use the VP Image Editor to manipulate the images you have imported and scanned into your patient folders.
This article is for VP Imaging users only. If you use Edge Imaging, click here for information about your imaging system.
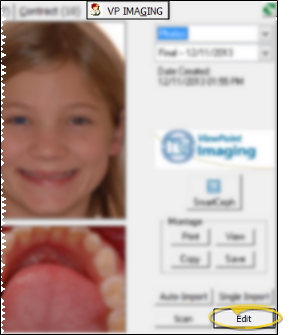
Open the Image Editor - Go to the patient's Imaging tab, and click Edit at the bottom of the window.
You are also taken to the Image Editor automatically after importing or scanning images into the patient folder.
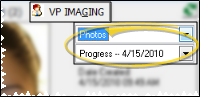
Choose a Layout & Timepoint - Click [V] in the layout and timepoint fields to select the images you want to view.
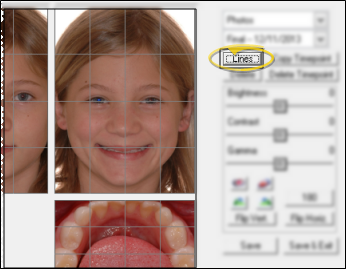
Show / Hide Grid Lines - Click the Lines button to show / hide grid lines over the image layout. Showing the lines may assist you as you resize and/or realign an image (described in Edit the Image, below).
Edit the Image![]() Click the image you want to work with, then use the editing tools at the right of the window.
Click the image you want to work with, then use the editing tools at the right of the window.
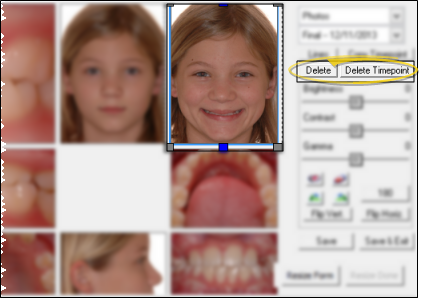
Delete Images - To remove an individual image, click the image you want to remove, then click the Delete button. Or, click Delete Timepoint to remove all the images in the selected timepoint. You may now scan or import different images into the timepoint as needed.
A copy of deleted images is retained in a /BU folder, in the directory where your VP Imaging files reside, with the current date and time as the filename.
Swap Image Types - To change the image type assigned to an image, right-click the image, then select the new image type. VP Imaging swaps the image types, giving your selected image the name you have chosen, and assigning your image's old type to the image that had previously been assigned to the image type you chose. Therefore, you may have to continue swapping until all images have been assigned to the appropriate image type name.
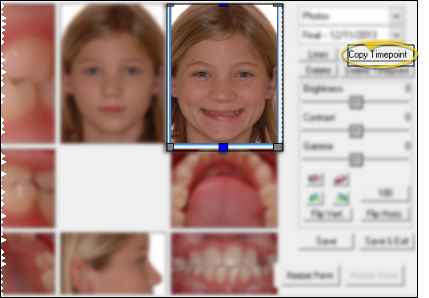
Copy Timepoint - Click Copy Timepoint to copy all the images from the timepoint you are currently viewing to another timepoint for this patient. The images will remain in the current timepoint as well.
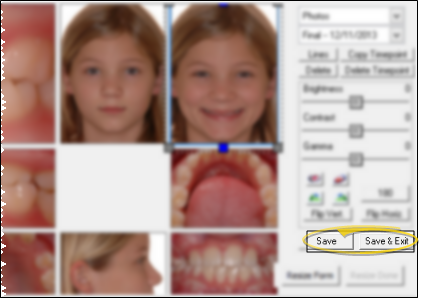
Save & Exit - When you have finished, click Save to save your changes and remaining in the Image Editor, or click Save and Exit to save your changes and return to the patient's Imaging tab. Or, click the X at the top-right of the window to exit the Image Editor without saving your changes.
If you have selected to burn the patient ID onto this type of image, the information is permanently added to the image at this time. See "Burn Id Onto Image" for more information. Once burned, the label cannot be removed, and will appear with the image on your screen, as well as each time the image is copied, printed or generated in a merge document.
 │
│  │
│  │
│ 
Ortho2.com │1107 Buckeye Avenue │ Ames, Iowa 50010 │ Sales: (800) 678-4644 │ Support: (800) 346-4504 │ Contact Us
Chat with Software Support │Chat with Network Engineering │ Chat with New Customer Care
Remote Support │Email Support │ Online Help Ver. 12/18/2015


