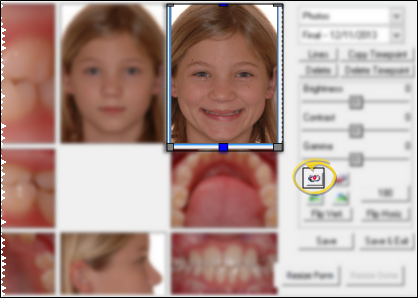
First click the image you wish to work with, then
click the ![]() Red Eye Removal button.
Red Eye Removal button.
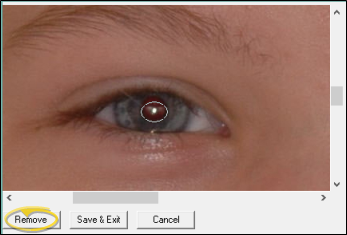
Click and drag to select the portion of the image you wish to change.You will see the image without any brightness or contrast changes you may have applied to it. Because VP Imaging enlarges the picture so that you can be as accurate as possible, you will likely need to use the scroll bars at the side and bottom of the picture to view the area you wish to edit.When you have selected the portion you wish to change. click Remove button at the bottom of the window
The Red Eye Removal
editor shows you several color controls, along with "before"
and "after" samples
of the section of the image you selected. Work
with color options to neutralize the original redness.You can enlarge the sample
even more by clicking the ![]() button at the top of the screen; Click
button at the top of the screen; Click ![]() to return to the original sample size.When you are satisfied
with the "after" image,
click Ok (or
click Cancel to ignore your changes).
to return to the original sample size.When you are satisfied
with the "after" image,
click Ok (or
click Cancel to ignore your changes).
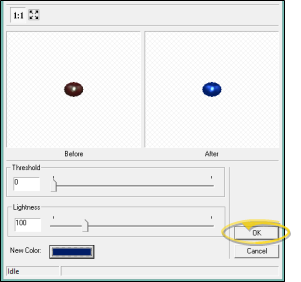
You then return to the Red Eye window, where you can work with the other eye, or click Save & Exit to finish.

 │
│ 


