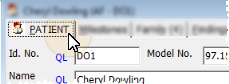
 Open patient folder > Imaging tab. (See "Open Patient Folders" for details.)
Use the scan feature to add an image to a patient folder, directly from your local scanning device. You can scan an image into a previously unused image type, or overwrite a patient's existing image.
Prepare your scanner - Be sure your scanner is prepared to work with your computer system. Note that it is generally unnecessary to take digital images at full resolution: Doing so may significantly slow down the operation of your VP Image Editor, and will require images to be converted each time they are viewed on screen. In addition, all imported and scanned images with a width or height over 1280 are converted to a width or height of 1280 to prevent significant slowing down of the VP Imaging system.
Open patient folder > Imaging tab. (See "Open Patient Folders" for details.)
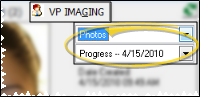
Choose layout -Select the layout you want to add the image to. You cannot change this selection after you initiate the scan function.
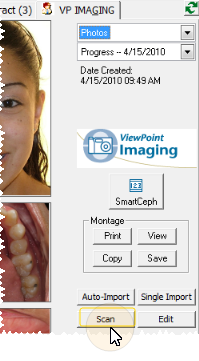
Intiate scan - Click Scan to open the scanning options window.
Select image options - Choose the timepoint, timepoint date, and image type you want to scan the image into. Note that if you change the timepoint date of an existing timepoint, the date changes for all images in that timepoint. (See "Modify Burn-In Date " for details about changing the date of an individual image.)
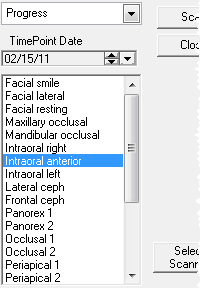
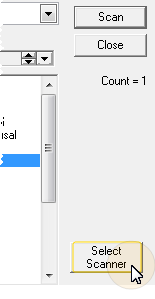
Select scanner - (Optional.) If you have multiple scanning devices available to your workstation, click Select Scanner to choose the device to use. If you do not select the scanner now, you may be prompted to do so later, if required.
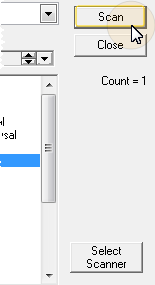
Start scanning software - Click Scan to initiate your scanning software. (If you have not previously selected a scanning device, you may be prompted to do so now.) If this action will overwrite an existing image, you must confirm the action before continuing. Proceed with previewing and scanning the image, as required by your scanner. (Refer to your device documentation for details.)
Repeat or finish - When scanning is complete, you return to the Scan dialog window, with the count of scanned images increased by one. You may now repeat the process to scan additional images into the layout, or click Close to exit. Notice you do not see your scanned images yet.
Save - After you close the Scan dialog window, you will see the Image Editor, with the layout of the new images. Click Save or Save and Exit to create the thumbnail image files required for the layout viewer. If you click [X] instead, the source images are still imported but the thumbnails, along with and their position and scaling, are not created.
 │
│  │
│  │
│ 
Ortho2.com │1107 Buckeye Avenue │ Ames, Iowa 50010 │ Sales: (800) 678-4644 │ Support: (800) 346-4504 │ Contact Us
Chat with Software Support │Chat with Network Engineering │ Chat with New Customer Care
Remote Support │Email Support │ Online Help Ver. 12/18/2015


