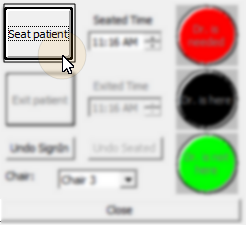
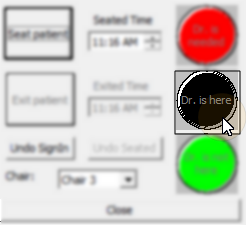
Operatory Display > Double-click patient name.
First open your Operatory Display.
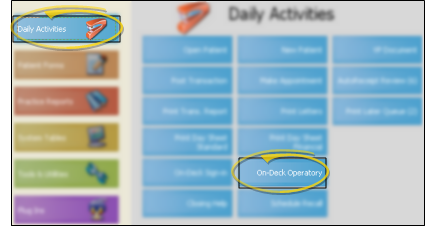
Then double-click the patient you want to work with.
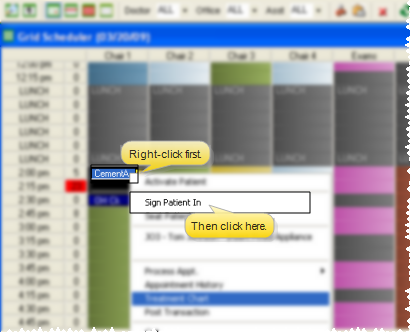
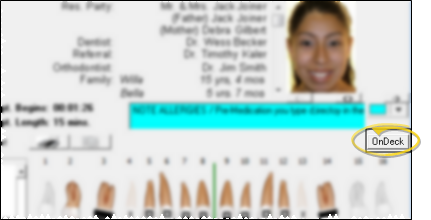
You can also right-click a patient appointment in the Grid Scheduler and choose Seat Patient, or click OnDeck from the patient's Treatment Chart.
Right-click an appointment:
Click OnDeck from the Treatment Chart heading:
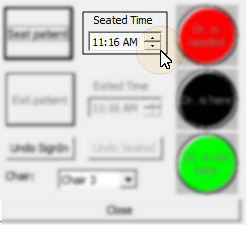
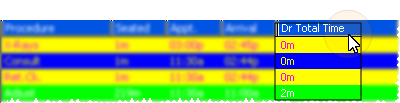
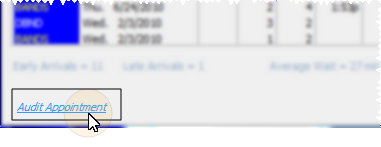
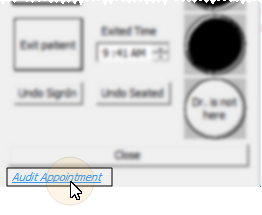
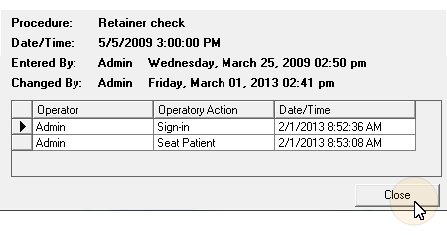
You can also process your patients' On-Deck Operatory status by right-clicking the patient's appointment from the Light Bar widget, or your Grid Scheduler, or editing the Arrival, Seated and Exited times in the patient's Arrival History.


 │
│ 


