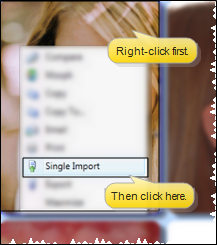
Open Image Single - Import Window![]() You can open this feature in multiple ways: Use the method that's most convenient for you.
You can open this feature in multiple ways: Use the method that's most convenient for you.
 Single Import.
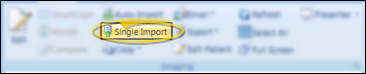
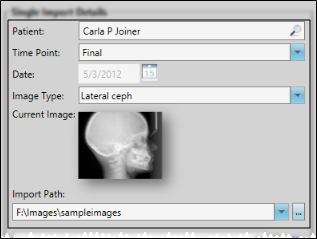
Import Details![]() Choose the patient, timepoint, date, and image type to use for this session. You can ignore the Import Path and list of images when you are going to scan a new image.
Choose the patient, timepoint, date, and image type to use for this session. You can ignore the Import Path and list of images when you are going to scan a new image.
Initiate Scan![]() Click
Click  Scan from the General section of the ribbon bar. Follow the instructions for your scanning device to preview and initiate the scan.

Image Preview![]() A preview of your selected image appears at the right of the window. You can move, rotate, and edit the image as needed before importing it into the patient record.
A preview of your selected image appears at the right of the window. You can move, rotate, and edit the image as needed before importing it into the patient record.
 Import from the General section of the ribbon bar to save your selections and begin the import process.
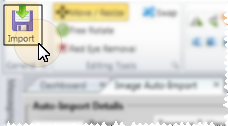

 │
│ 


