Use the Auto-Import feature to add a series of images to a patient record. The series is tagged with a timepoint, indicating the point in treatment when the images were taken. You can auto import additional image sets into other timepoints throughout treatment, providing you with a visual comparison of the patient's condition across time.
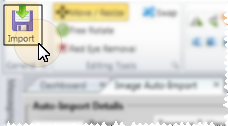
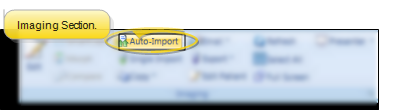
Open Image Auto-Import Window![]() Ribbon bar > Imaging section >
Ribbon bar > Imaging section >  Auto-Import.
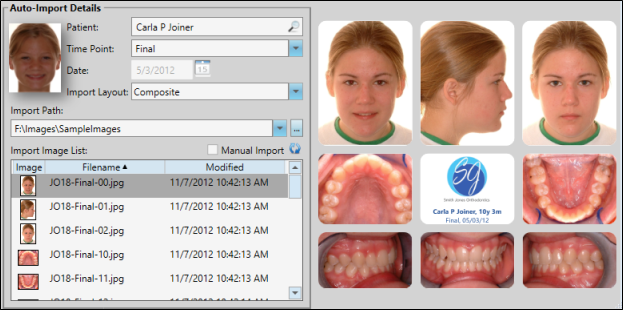
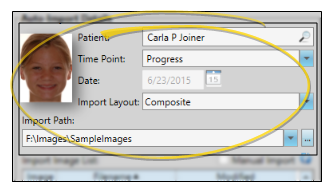
Auto-Import Details![]() Choose the patient, timepoint, date, layout and import path to use for this importing session.
Choose the patient, timepoint, date, layout and import path to use for this importing session.
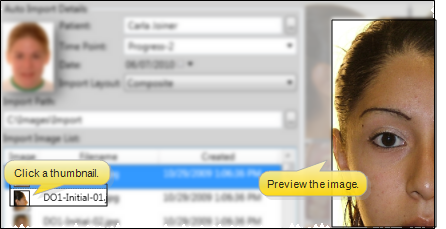
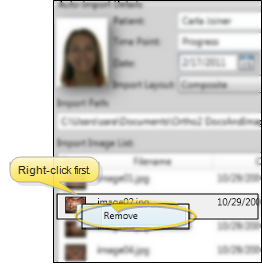
Import Image List![]() You can view the list of images to import, remove images from the list, choose which image to use as the "first" image to import into the patient record, and manually select the image placement in the layout.
You can view the list of images to import, remove images from the list, choose which image to use as the "first" image to import into the patient record, and manually select the image placement in the layout.
Image Layout![]() The layout preview appears at the right of the window. You can move, rotate, and edit the images as needed, as well as use drag and drop to add external images to the layout, or rearrange the images already in the layout before importing them into the patient record.
The layout preview appears at the right of the window. You can move, rotate, and edit the images as needed, as well as use drag and drop to add external images to the layout, or rearrange the images already in the layout before importing them into the patient record.
Import Image(s)![]() Click
Click  Import from the General section of the ribbon bar to save your selections and begin the import process.
After images are imported, you see a completion notification dialog. If the Delete After Import option in
Oops! I imported the wrong images! - You can replace images that you auto imported in error, or add images that were missing when you auto imported, with the single import, scan, and swap features.
 │
│  │
│  │
│ 
Ortho2.com │1107 Buckeye Avenue │ Ames, Iowa 50010 │ Sales: (800) 678-4644 │ Support: (800) 346-4504 │ Contact Us
Chat with Software Support │Chat with Network Engineering │ Chat with New Customer Care
Remote Support │Email Support │ Online Help Ver. 12/18/2015


 Manual Import option, then drag and drop them into new locations as needed. The image you are dragging is swapped with the image that is currently in the new location. This feature is useful when the original images are taken out of order. To return the layout to its original default state, disable the Manual Import option and click the Refresh button. (You can also use the Swap Images tool, described below, to rearrange the images in the layout.)
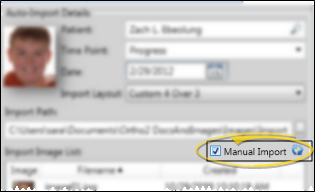
 Swap tool from the Editing section of the ribbon bar to drag and drop external images onto the layout, or rearrange the images already in the layout.