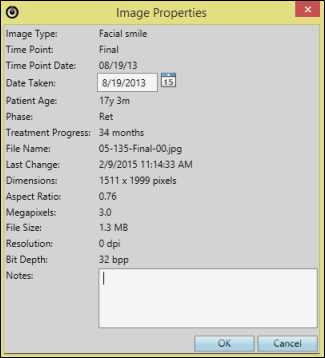
Use the Image Properties tools in the Actions section of the
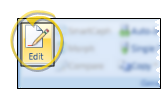
Enable Edit Tool - Click  Edit from the Imaging section of the
Select Image - Select the image to work with, then enable the tool you want to use in the Actions section of the
 Image Properties
![]() Click the Image Properties icon in the Actions section of the
Click the Image Properties icon in the Actions section of the
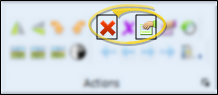
 Delete Image- ClickDelete Image in the Actions section of the
Save Changes![]() Click
Click  Save in your Quick Access toolbar or File ribbon bar (or press Ctrl+S on your keyboard) to save any changes you have made. . If you are in Edit mode, and have enabled the Exit Edit on Save setting in
Exit Edit Mode![]() Click
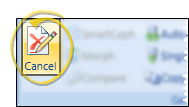
Click  Cancel in the Imaging section of the ribbon bar, if needed, to exit editing mode without saving any additional changes.
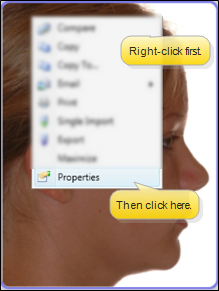
View Image Properties - You can also view image properties (but not edit them) while not in Edit mode by right-clicking the image and selecting the Properties option.
 │
│  │
│  │
│ 
Ortho2.com │1107 Buckeye Avenue │ Ames, Iowa 50010 │ Sales: (800) 678-4644 │ Support: (800) 346-4504 │ Contact Us
Chat with Software Support │Chat with Network Engineering │ Chat with New Customer Care
Remote Support │Email Support │ Online Help Ver. 12/18/2015