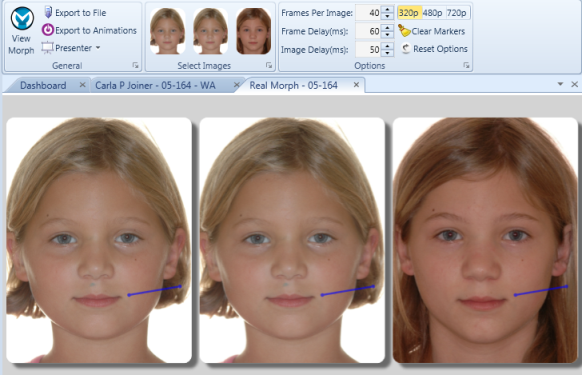
Use Timepoint Morph tools to create an animated presentation of the changes that have occurred over the course of the patient's treatment, using any image type, and any number of timepoints you have added to the patient's Edge Imaging page. You can view the animations immediately, save them as independent video files, or export them to Edge Animations.
Open Timepoint Morph Tools![]() - Select the image you want to work with. (See "View Patient Images" for details.) then click
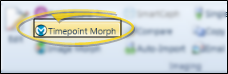
- Select the image you want to work with. (See "View Patient Images" for details.) then click  Timepoint Morph from the Imaging section of the
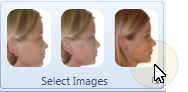
Images![]() The Select Images section of the Timepoint Morph ribbon bar shows you all the timepoints available for the image type you selected. Click to select / deselect the timepoints you would like to include in the morphing animation.
The Select Images section of the Timepoint Morph ribbon bar shows you all the timepoints available for the image type you selected. Click to select / deselect the timepoints you would like to include in the morphing animation.
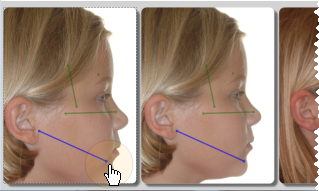
Markers![]() Click and drag to draw markers on all the images simultaneously. Markers help keep the image changes consistent, and help you better assess and present the changes that have occurred during treatment. The more markers you place, the less grainy the images will be during the morph. At minimum you should trace the eyes, eyebrows, nose, inside of the mouth, chin, and around the head.
Click and drag to draw markers on all the images simultaneously. Markers help keep the image changes consistent, and help you better assess and present the changes that have occurred during treatment. The more markers you place, the less grainy the images will be during the morph. At minimum you should trace the eyes, eyebrows, nose, inside of the mouth, chin, and around the head.
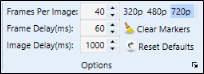
Frame Display Options![]() Use the Options section of the Timepoint Morph ribbon bar to adjust the frame display to determine the quality and speed with which the morphing animation occurs.
Use the Options section of the Timepoint Morph ribbon bar to adjust the frame display to determine the quality and speed with which the morphing animation occurs.
View / Save Timepoint Animation![]() Use the tools in the General section of the ribbon bar to view and save your animation.
Use the tools in the General section of the ribbon bar to view and save your animation.
Save Markers - When you exit the morphing window, you have the opportunity to save the markers you have drawn. If you choose to save the markers, they will not appear on the patient's images in Edge Imaging, but will appear across all timepoint images when you morph that image type for that patient again.
 │
│  │
│  │
│ 
Ortho2.com │1107 Buckeye Avenue │ Ames, Iowa 50010 │ Sales: (800) 678-4644 │ Support: (800) 346-4504 │ Contact Us
Chat with Software Support │Chat with Network Engineering │ Chat with New Customer Care
Remote Support │Email Support │ Online Help Ver. 12/18/2015


 Reset options - Click
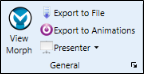
 Export to File - Click
  Export to Edge Animations - Click
  Presenter - Use the Presenter to duplicate whatever is currently being shown on your