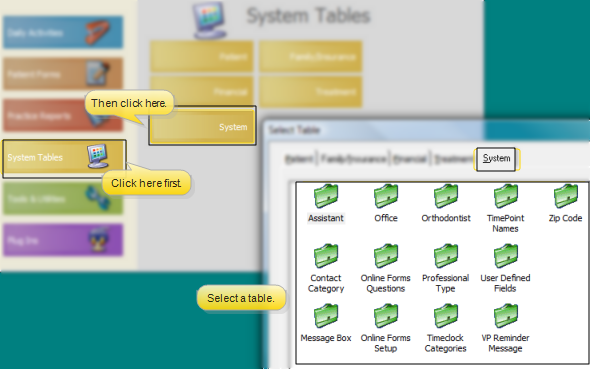
You maintain the list of office locations in your practice in your Office
ViewPoint Main Menu - System Tables > System > Office.
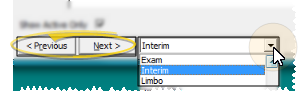
Choose Record to Work With - Use the Previous and Next buttons, or the dropdown button at the bottom of the table window to choose an existing record to work with.
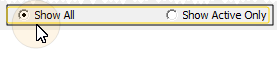
Display Active / Inactive Records - You can choose whether to include inactive records in your list.
Create new office - Click New. Then enter the office's details, described below.

Edit office details - Select a record to work with. If you just created a new office, that record is selected automatically.
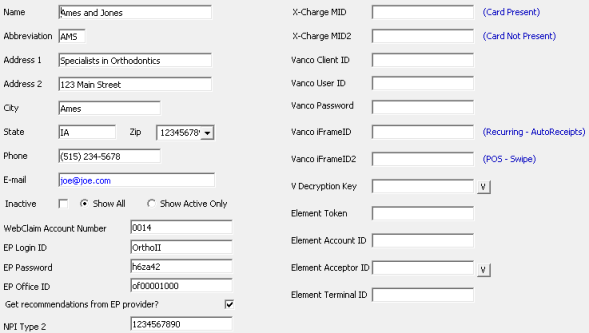
General Information - Enter general information about this location.

Name - Enter the name of this office. If you have multiple offices, be sure the name is different enough so it is easy to select the correct location for your patient folders.
Abbreviation - Enter an abbreviation for this office. Again, make sure the abbreviation is easy to distinguish from other office abbreviations.
Address, city, state, zip, phone, email - Enter the local street address, phone number, and general email address for this location.
Inactive / active toggle - Once you create a record, you cannot delete it. You can, however, flag it  Inactive. Inactive records cannot be selected for your patients.
NPI Type 2 - The NPI (National Provider Identifier) field complies with the Health Insurance Portability and Accountability Act (HIPAA), allowing a 10 digit number. You may be required by law to have this number appear on paper and/or electronic insurance claims.
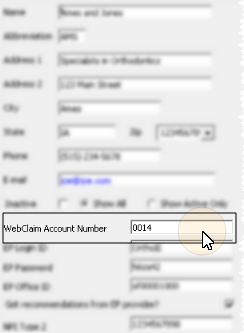
WebClaim account number- This field is required for electronic insurance claims. If you submit electronic insurance claims for your patients through the WebClaim clearinghouse, enter the account number of each office in this field. If you file through ClaimConnect, enter 0000 or 9999 in this field. If you file paper claims, leave this field blank. (See "Activate Electronic Insurance" for details.)
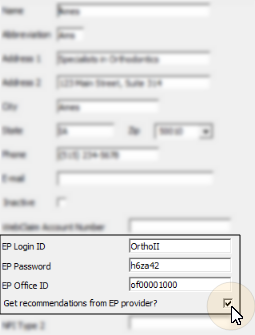
OrthoBanc integration - Complete the EP fields if you use the optional OrthoBanc electronic payment processing integration. If you do not use OrthoBanc, leave these fields blank. See "Set Up & Use OrthoBanc Integration" for details.
X-Web (X-Charge) integration - Complete the X-Charge MID and X-Charge MID2 fields if you use the X-Charge credit card processing integration, and separate your receipts by office. If you do not use the X-Web integration, or you do not separate receipts by office, leave these fields blank. See "X-Web (X-Charge) Integration" for details.

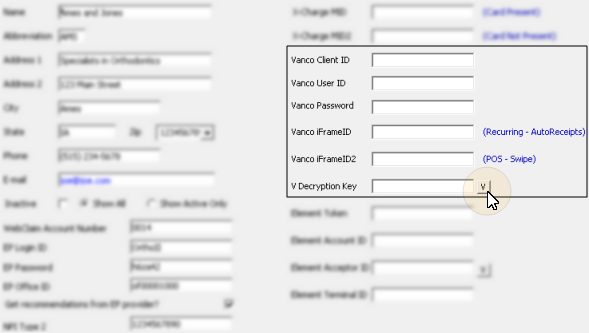
Vanco integration - Complete the Vanco fields if you use the Vanco credit card processing integration, and separate your receipts by office. If you do not use the Vanco integration, or you do not separate receipts by office, leave these fields blank. See "Vanco Integration" for details.
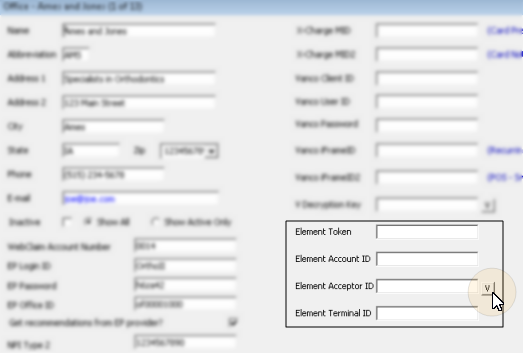
Element integration - Complete the Element fields if you use the Element credit card processing integration, and separate your receipts by office. If you do not use the Element integration, or you do not separate receipts by office, leave these fields blank. See "Element Integration" for details.
Save your changes - Click
Print -
 │
│  │
│  │
│ 
Ortho2.com │1107 Buckeye Avenue │ Ames, Iowa 50010 │ Sales: (800) 678-4644 │ Support: (800) 346-4504 │ Contact Us
Chat with Software Support │Chat with Network Engineering │ Chat with New Customer Care
Remote Support │Email Support │ Online Help Ver. 12/18/2015


