 Treatment Chart or
 ![]() Treatment Plan >
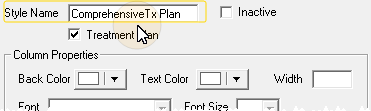
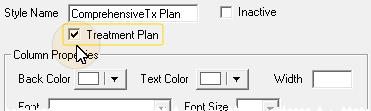
Treatment Plan >  Style Editor.
(Note that the styles are different for your treatment chart and treatment plan: Be sure you open the Style Editor for the correct type of record.)
First open the Treatment Chart or ![]() Treatment Plan. If a patient folder is not already open, you will use Fast Find to choose the patient
to work with. Otherwise,
Treatment Plan. If a patient folder is not already open, you will use Fast Find to choose the patient
to work with. Otherwise,

Then open the Style Editor from the resulting toolbar.

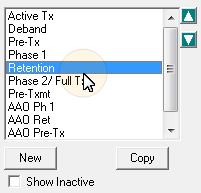
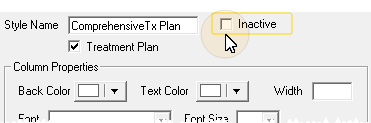
 Show Inactive option
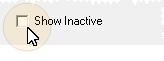
 Text Search is disabled, your list responses will be numbered, and you can type a number to jump to the response you want.
 │
│ 


