 Treatment Chart or
  Style Editor > List Editor.
Use the List Editor to create pre-defined lists to use for inputting information into your treatment chart and treatment plan records. You can also assign patient reward points to award or deduct from a patient's reward total when specific responses are entered into the patient's treatment chart. Once you create a list, you can use it in any number of Styles.
ViewPoint Toolbar - Treatment Chart or ![]() Treatment Plan > Style Editor > List Editor.
Treatment Plan > Style Editor > List Editor.
Open the Treatment Chart or ![]() Treatment Plan. If a patient folder is not already open, you will use Fast Find to choose the patient
to work with. Otherwise,
Treatment Plan. If a patient folder is not already open, you will use Fast Find to choose the patient
to work with. Otherwise,

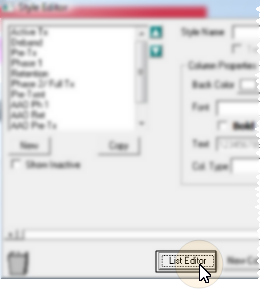
Open the Style Editor from the resulting toolbar.

Choose the List Editor option.
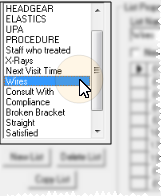
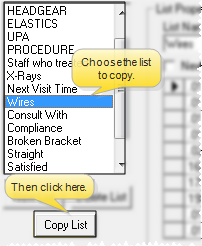
Choose List to Work With - Your list of existing lists appears at the left. Click the list you want to work with.
Create New List -
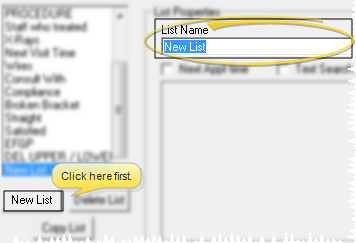
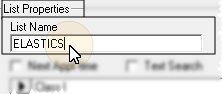
Change List Name- Type in the
Copy a List - Click a list name, then click Copy to create a copy of a list, named New List. You may then edit the details as needed.
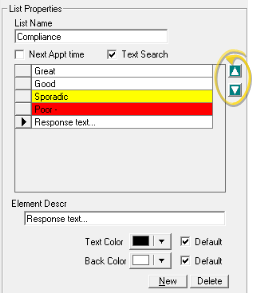
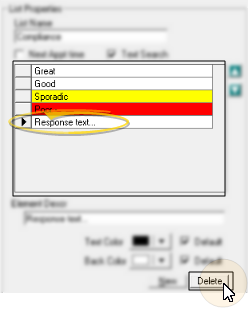
Search List by Text or Number - When the  Text Search option
is enabled for a list, you can begin typing a list response, and your cursor will jump to the response that begins with your typed text. If
Text Search option
is enabled for a list, you can begin typing a list response, and your cursor will jump to the response that begins with your typed text. If  Text Search is disabled, your list responses will be numbered, and you can type a number to jump to the response you want.

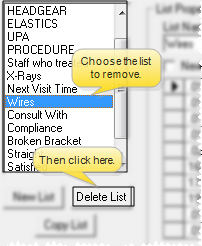
Delete a List - Click the list name, then click Delete. You are warned if the list is currently assigned to a Chart Style or Plan Style column. If you choose to remove the list anyway, you will need to re-assign a different l List to the affected styles.
Edit List Responses - Add, edit and remove responses, and re-order the responses in your list.
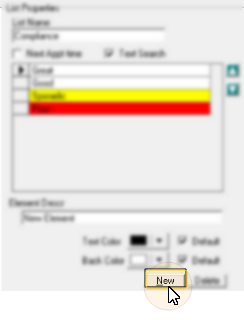
Add a response -
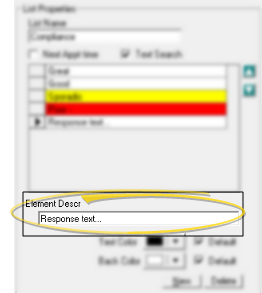
Edit response text - Click the response to change, then make your changes in the
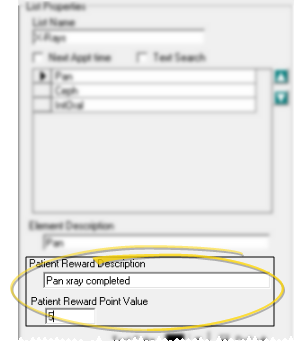
Assign Patient Reward Points - To add or deduct Patient Reward points when a specific response is entered in a patient's treatment chart, enter a description and point value (either positive or negative) in the Patient Reward fields of your Treatment Chart List. For example, you might award 5 points when the response "Excellent" is selected for the Oral Hygiene column of a treatment chart record, or deduct 5 points if the response is "Poor". Note that both you and the patient will be able to see the reward description.
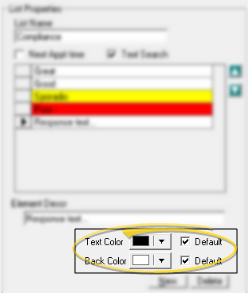
Change Response Colors -
Click the response you want to work with, then change the color properties. Default option, then enter this response into a patient's treatment chart or plan, the response will be displayed in the colors assigned to the current chart or plan style.
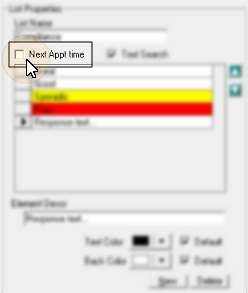
Enable / Disable Next Appt Option - Enable the Next Appt option to indicate that this list specifies the time frame for scheduling the patient's next appointment. When a treatment chart style includes both a column that requires a response from this list, and a column that requires a Procedure response, the information will automatically transfer to your Needs Appointment List.
Re-Order Responses Manually - Click a response in your list, then click the up / down buttons to re-order the responses.
Delete a Response - Click the response to work with, then click Delete. This does not remove the response from any existing patient treatment chart or plan records, but you can no longer choose this response for a patient.
Save Changes - Click Ok to save changes to your List Editor and return to the Style Editor, or click Apply to save changes without exiting. After you leave the List Editor, you click Exit to return to the patient's Treatment Chart or Plan.
 │
│  │
│  │
│ 
Ortho2.com │1107 Buckeye Avenue │ Ames, Iowa 50010 │ Sales: (800) 678-4644 │ Support: (800) 346-4504 │ Contact Us
Chat with Software Support │Chat with Network Engineering │ Chat with New Customer Care
Remote Support │Email Support │ Online Help Ver. 12/18/2015


