Use the Closing tab of your Sign-In editor to set up the messages and optional image your patients see as they complete the patient sign-in process.
(These options are available for both the Classic style sign-in screen and the Contemporary style.)
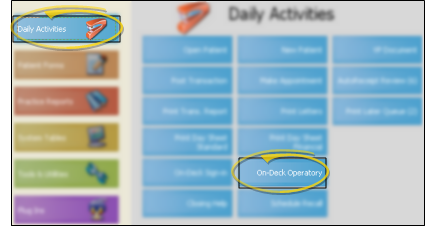
ViewPoint main menu > Daily Activities > On-Deck Operatory >  Properties.
Open your Operatory Display.
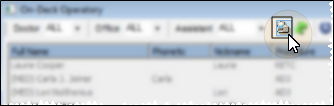
Open your On-Deck Properties.
Open Closing tab - Click to open the Closing tab of your On-Deck properties. Note that the settings available will be different, depending on whether you have enabled the Classic or Contemporary greeting style.

Large Letters Text - Set up your primary message with the Large Letters section of the window.
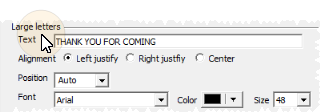
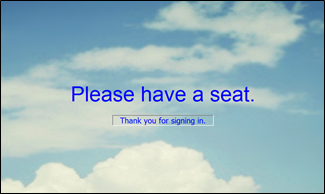
Text - Type the message to display, such as "Thank You For Coming".
Alignment - (Classic sign-in style only.) Select how this section of text will be aligned on your screen: Left justified, right justified, or centered.
Position - (Classic sign-in style only.) Select Auto to set the vertical position of the text automatically. Or select a numerical value between 100 and 600 to place the text in a specific vertical location on the screen, with 100 being the top of the screen and 600 being the bottom of the screen. If you choose a numerical setting, view your screen to confirm that the text is not juxtaposed over another message. Certain screen resolutions place the 600 setting off your screen!
Font - (Classic sign-in style only.) Select the font, or typestyle, for all of the text that will be displayed on your sign-in screen.
Color - (Classic sign-in style only.) Select the color to display all of the text on your sign-in screen.
Size - (Classic sign-in style only.) Select a size for your Large Letters text: The bigger the number, the bigger the text. You may select different sizes for each section of text.
Small letters text - Set up a secondary sign-in message with the Small Letters section of the window.
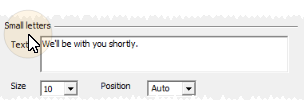
Text - Type the message to display, such as "We'll be with you shortly" or "Thank You For Coming".
Size - (Classic style only.) Select a size for your Small Letters text: The bigger the number, the bigger the text. You may select different sizes for each section of text.
Position - (Classic style only.) Select Auto to set the vertical position of the text automatically. Or select a numerical value between 100 and 600 to place the text in a specific vertical location on the screen, with 100 being the top of the screen and 600 being the bottom of the screen. If you choose a numerical setting, view your screen to confirm that the text is not juxtaposed over another message. Certain screen resolutions place the 600 setting off your screen!
Alignment, - This text box is always centered.
Font & Color - (Classic style only.) The font style and color settings for all text are set up in the Large Letters section of the window.
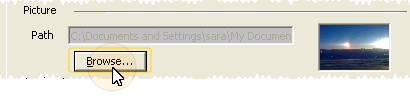
Freshen up- Consider changing your background picture and greeting regularly to offer your patients a fresh look whenever they come to your office.
Workstation-Specific - These properties are specific to your workstation. Other stations in your system may have other settings.
Appointment procedure message - (Optional.) You can choose to display a procedure-specific message when a patient signs into your office. See "Set Up Procedure List" for details.
 │
│  │
│  │
│ 
Ortho2.com │1107 Buckeye Avenue │ Ames, Iowa 50010 │ Sales: (800) 678-4644 │ Support: (800) 346-4504 │ Contact Us
Chat with Software Support │Chat with Network Engineering │ Chat with New Customer Care
Remote Support │Email Support │ Online Help Ver. 12/18/2015


