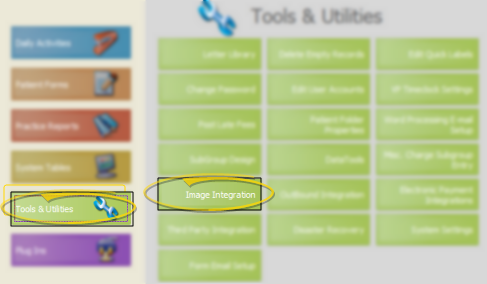
ViewPoint main menu > Tools & Utilities > Image Integration.
Use your Image Integration tools to setup your VP Imaging properties.
ViewPoint main menu > Tools & Utilities > Image Integration.
First, activate VP Imaging as your integrated imaging package. Then, enter your imaging paths and properties.
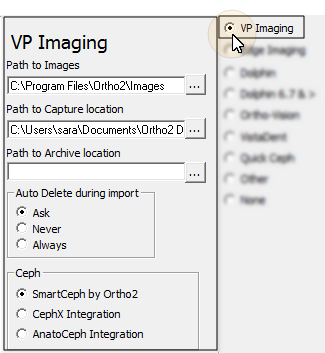
Activate VP Imaging - Enable the ![]() VP Imaging option to activate the integration.
VP Imaging option to activate the integration.
Path to images - Navigate to the folder where your patient images will be located, such as C:\VPImages.
Path to capture location - Navigate to the folder where your digital photos or scanned images are located before they are added to a ViewPoint patient folder.
Path to archive location - Navigate to the folder where your archived images of inactive patients will be stored. See "Archive Patient Images (Data Tool 604)" for details.
Auto-delete during import - Use this option to direct whether or not the images will be deleted from their original location (i.e. your camera memory card) during import. Choose Ask to be prompted to delete the images; choose Never to always leave the images in their original location (you will need to manually manage these images later), or choose Always to delete the original files as soon as they are imported.
Ceph integration - Select the ceph package you want to integrate with your VP Imaging images. See "Edit Layouts" for special SmartCeph layout considerations.
Source image resolution - It is generally unnecessary to take digital images at full resolution: Doing so may significantly slow down the operation of VP Imaging, and will require images to be converted each time they are viewed on screen.
Source image size - All imported and scanned images with a width or height over 1280 are converted to a width or height of 1280 to prevent significant slowing down of your VP Imaging system.
Maximum width settings - VP Imaging supports maximum width settings by image type. This feature allows you to, for example, resize Facial images to 800 wide, while X-rays are left at original resolution. The settings are defined by the [MaxImageWidth] parameter in the OurImaging.ini file that is found in the folder where your patient images are stored. See "Advanced Settings" for details about editing the file.
Image labels - You can optionally burn a patient identification label, panorex label, and/or orthodontist identification label onto your images.
 │
│  │
│  │
│ 
Ortho2.com │1107 Buckeye Avenue │ Ames, Iowa 50010 │ Sales: (800) 678-4644 │ Support: (800) 346-4504 │ Contact Us
Chat with Software Support │Chat with Network Engineering │ Chat with New Customer Care
Remote Support │Email Support │ Online Help Ver. 12/18/2015


