Treatment Chart & Plan Style Editor
Use the Style Editor to set up the columns of information you want to include when you create a patient treatment chart or plan record. You may create as many styles as needed, so that you only need to record certain types of information during certain phases or stages of a patient's treatment.
ViewPoint Videos - View a video about this topic. (See "ViewPoint Videos" for details.)
Testing Your Styles - While working on treatment chart and plan styles, you may want to make some test entries. Consider using a fictional patient for these tests, so as not to “mess up” an actual patient’s chart.
-
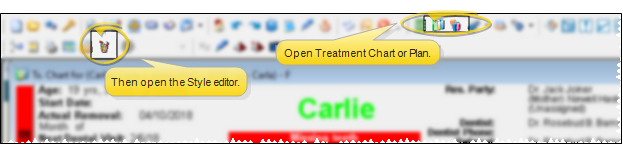
 Open the Style Editor - From the ViewPoint toolbar, open either the
  Treatment Chart or
  Treatment Plan for a patient, depending on the type of styles you want to work with. If a patient record is already active, that patient's information will be loaded automatically. Otherwise, you use Fast Find (either typing information or swiping a registered reward card) to search for the patient to work with. From the resulting toolbar, choose the
  Style Editor.
The styles are different for your treatment chart and treatment plan: Be sure you open the editor for the type of styles you want to work with.
-
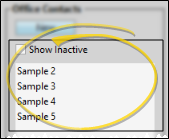
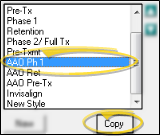
Choose a Style to Work With - You can choose to work with an existing style, copy a style to work with, or create a new style from scratch. Once you create a record, you cannot delete it. You can, however, flag it Inactive. Records you flag as Inactive are not available for general use, but they remain in your system for reporting and other data collection needs. In addition, you can toggle records back to Active whenever needed.
-
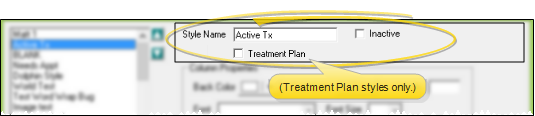
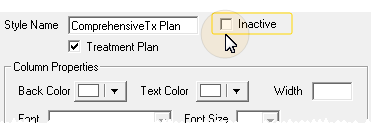
Edit Style Name and Status - The top portion of the style details includes the style name and active / inactive status. Be sure you name you styles to they are easily distinguishable from one another. Once you create a record, you cannot delete it. You can, however, flag it Inactive. Records you flag as Inactive are not available for general use, but they remain in your system for reporting and other data collection needs. In addition, you can toggle records back to Active whenever needed. If you are working with a Treatment Plan style, you can enable the
-
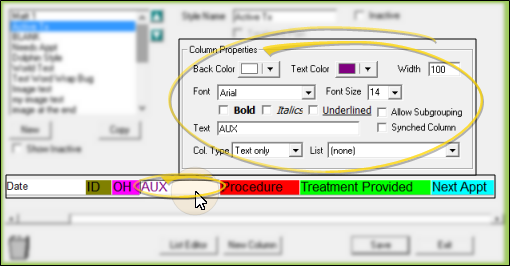
Add, Edit, and Delete Style Columns - A sample of the style you are working on appears on your screen, along with the fields you use to add and remove columns, and define the properties of each column of your style. You can control the way information can be entered into a column, integrate columns with your tooth chart, needs appointment list, and patient rewards system, and use color and other properties to emphasize certain columns.
-
Save Your Changes - Click Save to save the changes you have made and close the editing window.
-
Add Style to Treatment Plans - Newly-created styles are not automatically imported into existing treatment plans. To use a new style, right-click anywhere in a patient's Treatment Plan page, select Add New Style and choose your new style. See "Add Treatment Plan Records" for details.