Manage Time Off Requests
Time off requests appear in the Appointment Queue at the bottom of the HR Manager calendar window, waiting for an administer to accept or deny them. Accepted requests will appear as scheduled events in your HR Manager calendar and your Office calendar, and optionally the Notes section of your Grid Bar. You can review all requests, including accepted and denied requests, from the Appointment Queue at the bottom of the HR Manager calendar.
Add Requests - Staff members can request time off from VP Timeclock, or from your HR Manager calendar. All requests are sent electronically to the Appointment Queue at the bottom of the calendar, where administrators can accept or deny them.
 Open HR Manager Calendar - Employee Information ribbon bar > Add-In section >
  Calendar. (See "HR Manager Module" for details about opening your HR Manager module.)
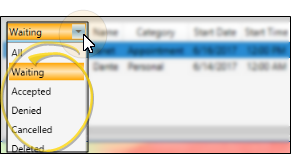
Filter Requests - Click the filter at the left of the Appointment Queue to select the request statuses to include.
Accept / Deny Request - Double-click a Waiting appointment request to open it for processing.
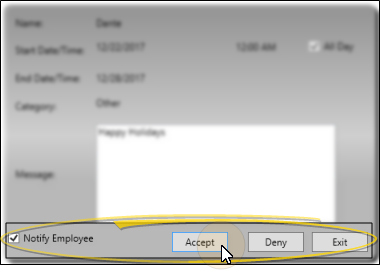
Review Request - Review the details of the time off request. You cannot edit the request from this window: However, once you accept a request, it will appear as a scheduled event in your HR Manager calendar, and can be edited from there. (See "Add & Edit Events" for details.)
Enable / Disable Employee Notification - Enable the Notify Employee option to send the employee a VP Messaging notice stating whether the request was accepted or denied. If you disable the option, the employee will not receive an instant message regarding the request, but they can view their request status from VP Timeclock. (See "Absence Request" for details.)
Accept / Deny Request - Click to Accept or Deny the request. Denied requests remain in the Appointment Queue for future reference. Accepted requests also appear in your Office calendar, and optionally the Notes section of your Grid Bar. In addition, employees may review their own list of requests by logging into VP Timeclock and clicking the Absence Request button. See "Absence Request" for details. When an employee's time off request has been either accepted or denied, that employee optionally receives a notice of the decision via VP Messaging. See "Receive & Respond to Instant Messages" for details.
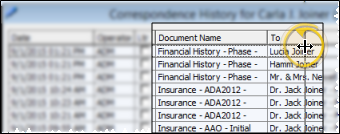
Adjust Columns - You can adjust both the width and location of the columns in the window. All columns return to the defaults when you exit and re-enter.
Adjust Column Width - Click the bar between two columns to reallocate the column space. Be aware that it is possible to adjust a column to be so narrow that you no longer see it.
Change Column Order - Click a column heading and drag it to a new location within the window. Other columns adjust accordingly.
Resize Queue - Click the bar between the HR Manager calendar and the Appointment Queue to change the space allotted to each section.