Import Single Images
Use the Single Import feature to add one or more individual images to a patient folder. This feature is especially useful for linking images to the patient's tooth chart, replacing images imported in error, or for completing a timepoint.
-
 Open Single Import Window - From the Imaging section of the Imaging ribbon bar, select
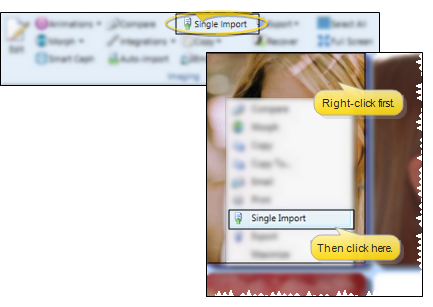
  Single Import. Or, while viewing a patient's images, right-click an image location you want to replace and select Single Import. Finally, you can drag and drop an image onto a layout you are viewing to initiate the single import feature.
 -
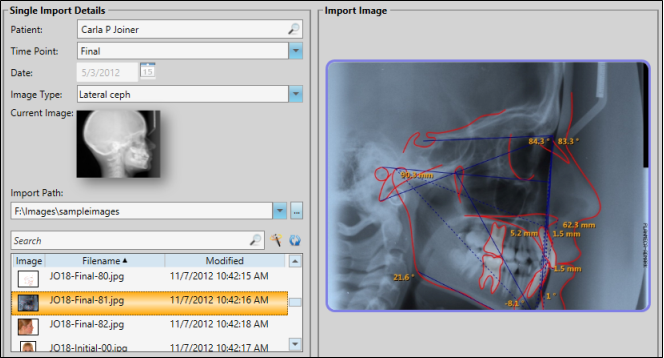
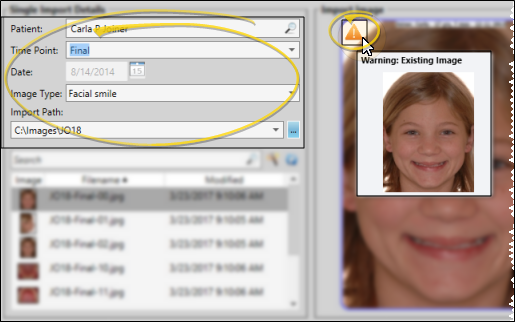
Choose Single Import Details - Choose the appropriate patient, time point, date, and image type. Then select the Import Path where the image is located. If there are already images in the time point, you cannot change the date.
-
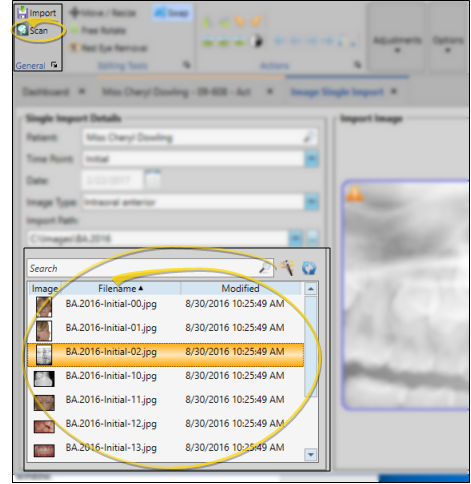
Choose Image - Use the list at the bottom of the screen to choose the image to import. You can optionally type all or part of the image filename in the Search field to search for an image in the Image Path you selected, or use the Wizard icon to search for images in the path that include the patient's last name. Finally, you can click Scan from the Imaging ribbon bar to scan a new image from any scanner connected to your computer. Your chosen image appears at the right of the window.
-
Image Preview - A preview of your selected image appears at the right of the window. You can move, rotate, and edit the image as needed before importing it into the patient record.
-
Import Image(s) - Click
 Import from the General section of the ribbon bar to save your selections and begin the import process.
 -
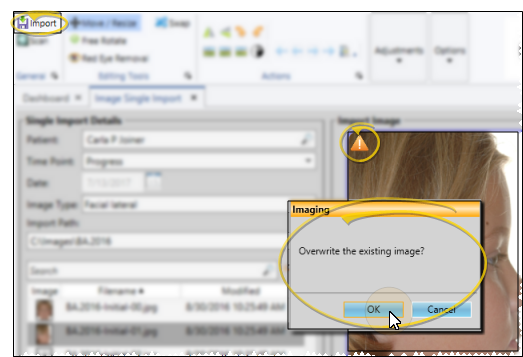
Verify Overwrite - If you are importing an image (or images) that will overwrite an existing image in this time point, you must confirm your action before continuing.
After images are imported, you see a completion notification dialog. If the Delete After Import option in your Imaging User Options is set up to either retain original images or delete original images, you simply see a notice that the process is complete. However, if the Delete After Import option is set up to prompt you before deleting original images, select either Yes or No to direct the handling of the original images.