Office Table
Use the Office table to identify office locations in your practice. The patient's financial transactions and appointments default to the office assigned to the patient folder. Some fields are required for certain types of insurance claim submission and credit card transaction processing.
Select System Tables from the ViewPoint main menu. Then from the System tab, open the Office table.

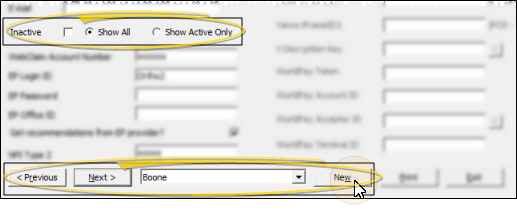
Click New to create a new record, or use the Previous and Next buttons, or the dropdown button at the bottom of the window to choose an existing record to work with. You can enable the Show Active Only option to limit the available list. Once you create a record, you cannot delete it. You can, however, flag it Inactive. Records you flag as Inactive are not available for general use, but they remain in your system for reporting and other data collection needs. In addition, you can toggle records back to Active whenever needed.

Name, Abbreviation, Address, Contact Information - Enter the general information for this office location. If you have multiple offices, be sure the name and abbreviation are different enough to easily select the correct office for your patients.
Inactive / Active Toggle - Once you create a record, you cannot delete it. You can, however, flag it Inactive. Records you flag as Inactive are not available for general use, but they remain in your system for reporting and other data collection needs. In addition, you can toggle records back to Active whenever needed.
NPI Type 2 - The NPI (National Provider Identifier) field complies with the Health Insurance Portability
and Accountability Act (HIPAA), allowing a 10 digit number. You
may be required by law to have this number appear on paper and/or electronic
insurance claims.
This field is required for electronic insurance claims. If you submit electronic insurance claims for your patients through the WebClaim clearinghouse, enter the account number of this office in this field. If you file through ClaimConnect, enter 0000 or 9999 in this field. If you file paper claims, leave this field blank. (See "Activate Electronic Insurance" for details.)

If you use one or more credit card processing integrations, and separate your receipts by office, enter the credentials for this office in the appropriate fields. If you do not use a credit card processing integration, or you do not separate receipts by office, you will leave these fields blank.
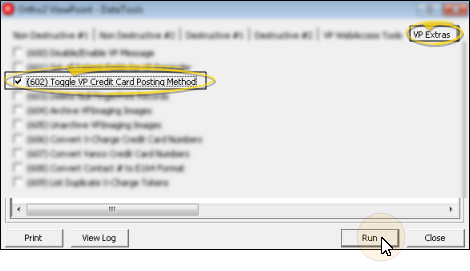
 Posting Method Toggle - If the integration fields are not available in the table you want to edit, you will need to run Data Tool (602) - Toggle ViewPoint Credit Card Posting Method to toggle whether your system posts credit card payments by orthodontist or office. See "Use Data Tools" for details about running the tool.
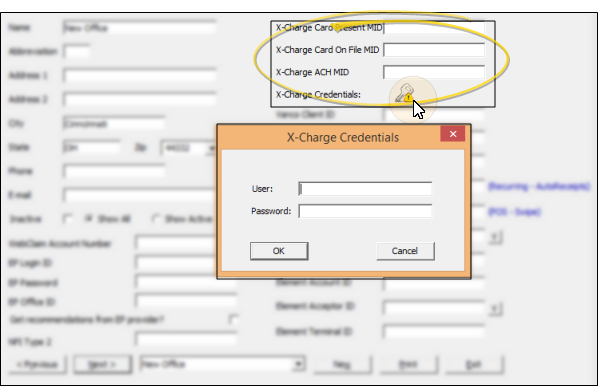
OpenEdge Integration - Complete the X-Charge MID fields of your Office table if you use the OpenEdge credit card processing integration, and separate your receipts by office. To enter the credentials for this provider, click the X-Charge Credentials icon, then enter the information. See "Open Edge / VP Credit Card" for detailsSee "Open Edge / VP Credit Card" for details.
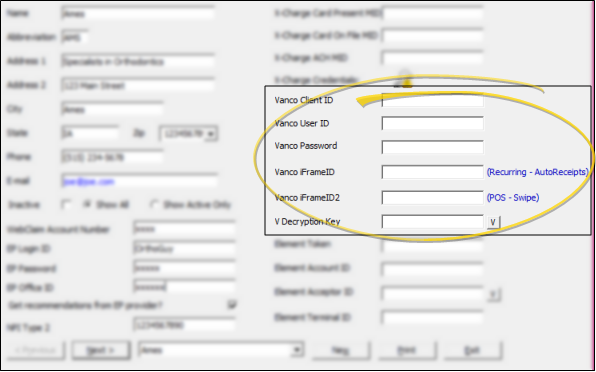
Vanco Integration - Complete the Vanco fields of your Office table and verify your credentials if you use the Vanco credit card processing integration, and separate your receipts by office. See "ViewPoint / Vanco Integration" for details.
Worldpay Integration - Complete the Worldpay fields of your office records, and verify the data if you use the Worldpay credit card processing integration and separate your receipts by office. See "Worldpay Integration" for details.
Click Exit (or press Alt+E) to save the changes you have made and close the editing window.