Clock In & Out of Timeclock
You clock in and out of your VP Timeclock app to record your working hours. You can optionally track job categories, and leave messages about where you are and when you plan to return. If you have staff members that rarely (or never) need to use ViewPoint, you can start the VP Timeclock app on a workstation that those employees can use to clock in and out, without having to open ViewPoint each time.
Watch the movie. (Windows Media Player, an active Internet connection, and a valid Ortho2 customer login are required to run video tutorials, webinars, and training programs.)
Set Up Time Categories - Use the Timeclock Categories table to create job / pay code categories that employees can use to indicate how they spent their working hours, and to calculate vacation and well pay hours for your HR Manager. See "Time Categories Table" for details.
Get Fingerprints - If you have fingerprint sensors installed at your workstations, and you want staff to be able to use the sensor to clock in and out, use the User table to obtain staff fingerprints. See "Acquire Staff Fingerprints" for details.
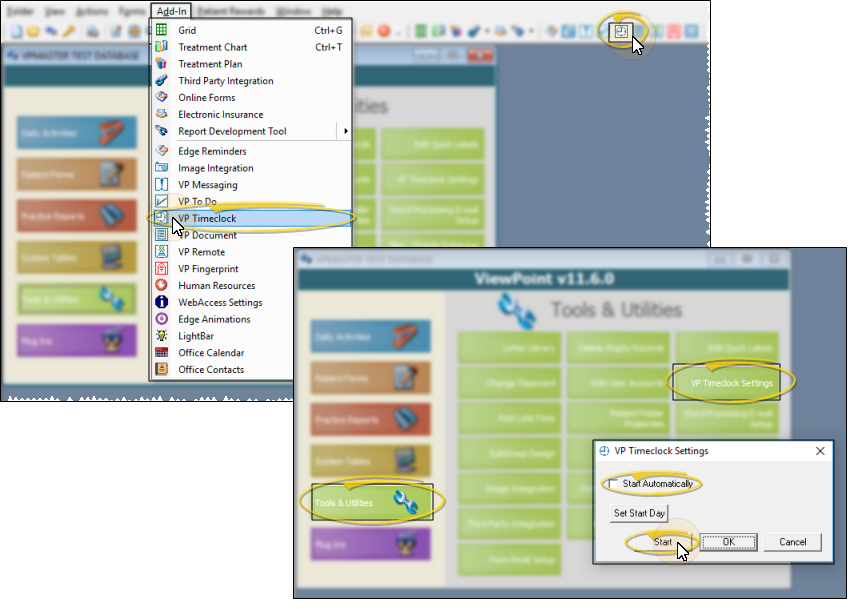
Set Up Start of Week - Use the VP TimeClock Settings window to select select the day of the week you start your work week, and choose whether to automatically load the timeclock whenever you start your workstation. See "VP Timeclock Settings" for details.
Enable Timeclock Notification - Enable the Timeclock Alert option in your operator accounts if you want ViewPoint to warn an operator when they log into ViewPoint without first clocking in. See "Edit User Accounts" for details.
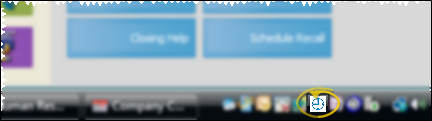
If you have staff members that rarely need to use ViewPoint, you can start the Timeclock app on a workstation that those employees can use to clock in and out whenever needed, without opening ViewPoint. When running, a  VP Timeclock icon will be in the computer's notification area.
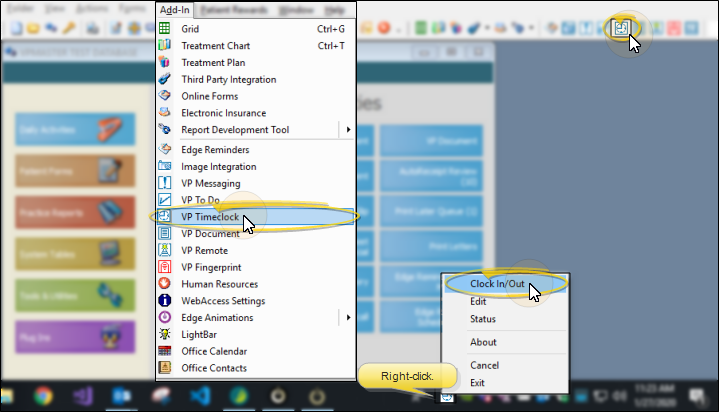
If the icon is not showing, you can start the app by selecting VP TimeClock from the ViewPoint toolbar, the Add-In shortcut menu, or the ViewPoint main menu. Or, from the ViewPoint main menu, select Tools & Utilities, and open VP Timeclock Settings. Then select Start VP Timeclock. You can also enable the Auto Start icon from this window to start VP Timeclock automatically whenever this workstation is started, even without ever opening ViewPoint.
-
Open Timeclock Window - If the VP Timeclock icon is showing in the computer notification area, right-click and select Clock In / Clock Out. Or, if the icon is not available, select VP TimeClock from the ViewPoint toolbar or the Add-In shortcut menu.
-
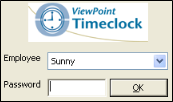
Enter Credentials - When the VP Timeclock window appears, either enter your ViewPoint username and password, or press the fingerprint sensor installed at the workstation.
-
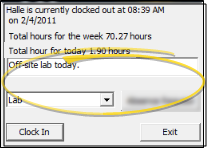
Enter Message and Job Type - (Optional.) If you are clocking in, you can enter a message, and select a job category on the Clock In / Clock Out window. If you are clocking out, you can enter a message, Your current hours for the day appear on this screen as well. (ViewPoint operators can use the VP Timeclock status viewer to see everyone's messages.) See "Timeclock Status Viewer" for details.
-
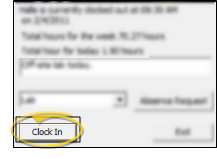
Finish - Click Clock In/ Clock Out to complete the action. The current time clock status, as well as total hours for the day and week so far are displayed.