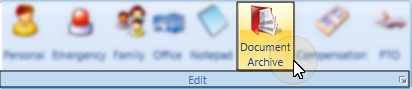
Scan into HR Manager employee record - ![]() Open employee > Ribbon bar >
Open employee > Ribbon bar > 
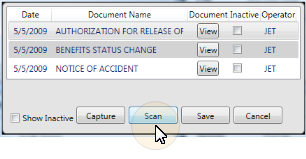
Open the Document Archive for an employee:
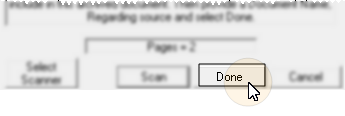
Then click Scan:
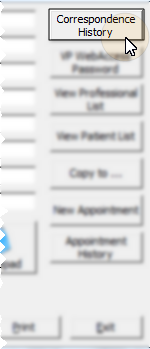
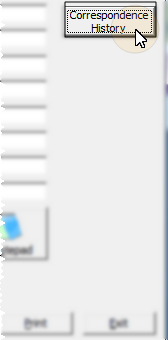
Scan into patient correspondence history -  Open patient >
  Correspondence History > Scan.
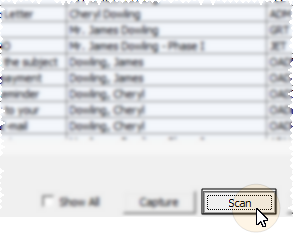
Open the Correspondence History for a patient:

Then click Scan:
Scan into dentists, professional, or insurance company record - Open dentist, professional, or insurance company record > Correspondence History > Scan.
Open the record to work with, and select Correspondence History.
Then click Scan:
Capture into office contacts correspondence history - Open office contact record > Correspondence History > Capture.
Open the record to work with, and select Correspondence History.
Then click Scan:
Scan into your practice correspondence history - ViewPoint toolbar > ![]() VP Document.
VP Document.
Open the VP Document viewer:

Then click Scan:
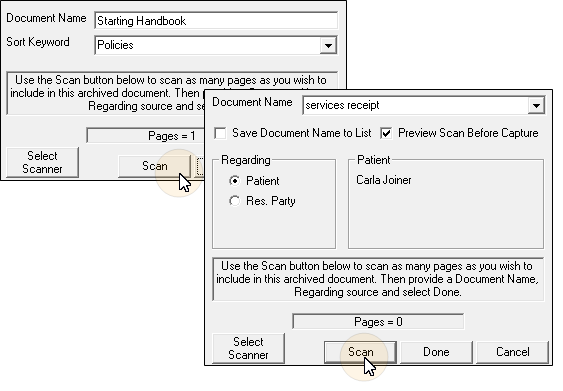
 Save document name - (Patient correspondence history only.) Enable this option to save this document name in the drop down list for future use.

 │
│ 


