ViewPoint toolbar > ![]() VP Messaging.
VP Messaging.

You can also select Add-In, then ![]() VP Messaging from the ViewPoint shortcut menu. (Or, press Alt+D on your keyboard to open the Add-In menu options.)
VP Messaging from the ViewPoint shortcut menu. (Or, press Alt+D on your keyboard to open the Add-In menu options.)
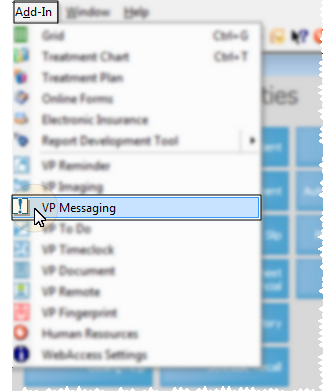
Use VP Messaging to send instant messages to one or more ViewPoint users. The message will appear on the recipient's screen, just under the ViewPoint toolbar, several seconds after you send it. If the user is not currently logged in, the message will be placed on hold until the user logs in.
ViewPoint toolbar > ![]() VP Messaging.
VP Messaging.
You can also select Add-In, then ![]() VP Messaging from the ViewPoint shortcut menu. (Or, press Alt+D on your keyboard to open the Add-In menu options.)
VP Messaging from the ViewPoint shortcut menu. (Or, press Alt+D on your keyboard to open the Add-In menu options.)
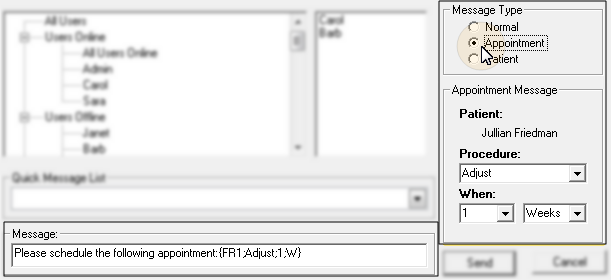
Message type - Select which type of message you are sending.
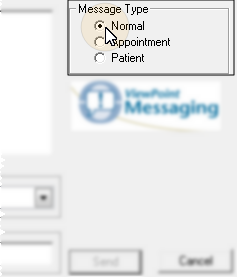
Normal - Use this message type to send any instant message, regarding any event or issue in your office.
Appointment - Select this message type to send a request to schedule an appointment. You then choose the patient to link to, and enter the appointment details. When the recipient clicks on the message text, the Grid Scheduler opens,waiting to schedule your requested appointment.
Patient - Select this message type to link the message to a patient folder. When the recipient clicks on the message text, the patient folder will open automatically.
Select recipient - Double-click a user name to add or remove them from the list of recipients. You may select multiple names to send the message to multiple users. You can only send VP Messaging instant messages to people that have a ViewPoint User Account.
Message groups are listed together at the bottom of the list. You can double-click a message group name to add all the members of the group to your recipient list. You can then double-click an individual name to remove, if needed. See "Use Messaging Groups" for details about creating and using message groups.
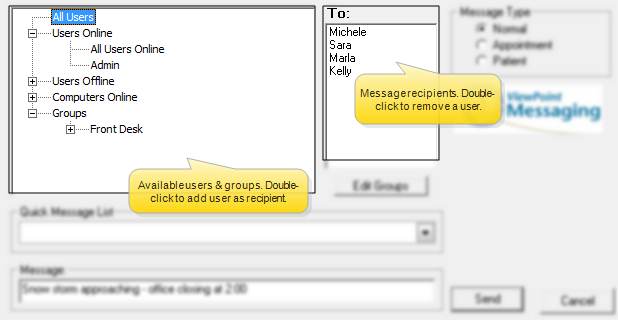
Compose your message - You can type your message in the Message text box, as well as use other VP Messaging tools to compose messages more efficiently.
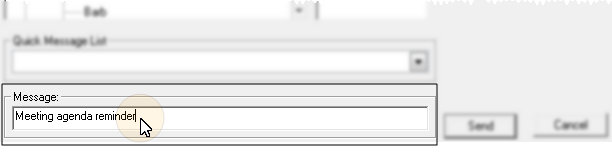
Message text box - You can type in the Message text box as needed. If you use the Quick Message List, patient, and/or appointment request tools, special text is added to this box automatically. You can add to that text as well, but be careful that you do not edit within the {brackets} of a request, or the link will not function correctly.
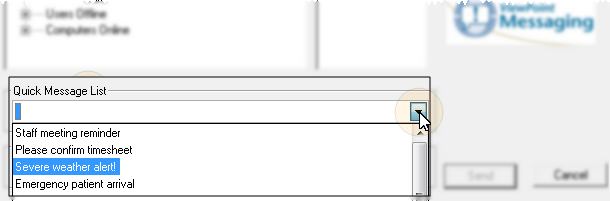
Quick Message List - Select pre-defined message text from your Quick Message List. The text is added to the end of any message that is already in the message box. See "Workstation Settings for VP Message" for detailsabout setting up your own Quick Message List.
Appointment details - (Appointment type message only) If you have selected to send an Appointment message type, you then select the procedure, and when the appointment should be scheduled. (You choose the patient when you first select to send an Appointment type message.) The relevant information will appear in brackets in the message body: Be sure you do not edit this information, or the link will not function appropriately.
Send your message - Click Send to complete the process. A few seconds later, your message is delivered to your selected recipients.
Respond rather than create a new message - If someone else sends you a message and you want to reply, use the R button on your VP Messaging bar to respond directly to that sender rather than creating a new message. Using the Respond feature links related messages that can be reviewed with the Show History option. See "Receive & Respond to Messages" for details.
I can't send a message - If you have disabled your Receive Message option, you also cannot send instant messages with VP Messaging. See "Workstation Settings for VP Message" for details.
Automated prize request message - When a patient requests a prize from the patient reward Prize Selector, your system can automatically send a message to one or more
 │
│  │
│  │
│ 
Ortho2.com │1107 Buckeye Avenue │ Ames, Iowa 50010 │ Sales: (800) 678-4644 │ Support: (800) 346-4504 │ Contact Us
Chat with Software Support │Chat with Network Engineering │ Chat with New Customer Care
Remote Support │Email Support │ Online Help Ver. 12/18/2015


