Lab Appliance - Back Dates Report
Run the Lab Appliance - Back Dates report to review the patient appliances that have been returned from service or consultation. The report uses data you have entered into the Appliance Tracking feature, including the appliance destination and the dates of service. You can specify one or more appliances to include on the report, or choose to see all returned appliances. See "Use Appliance Tracking" for details about this feature.
-
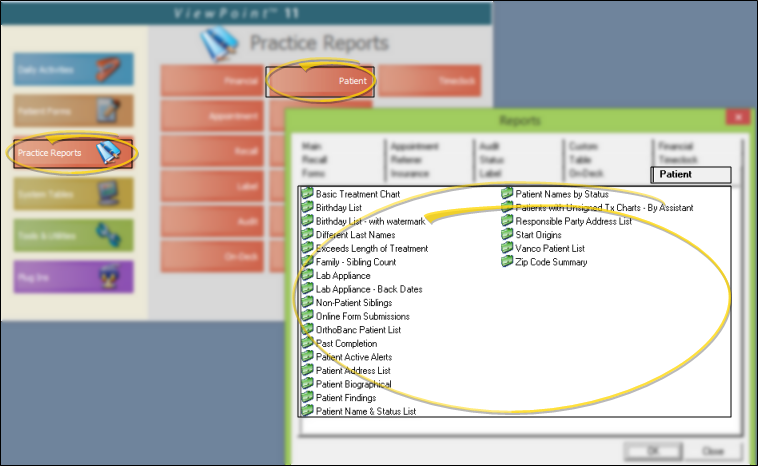
 Open the Report - ViewPoint Main Menu > Practice Reports > Patient > Lab Appliance - Back Dates.

-
 Report Settings - Select the options to use for choosing records and generating this report. Choose carefully, as your selections will affect which patients are included in the report.
First Date / Last Date - Choose the range of dates to include on this report, or select a single date for both the First Date and Last Date fields to run the report for an individual date. You can type a date in the field, click the up / down buttons to advance the current field, or use the drop down button to select a date from a calendar. In addition, you can click the [ T ] button to select today, the [+W] button to advance the date by one week, or the [+M] button to advance one month. Also, pressing Shift or Control while you click one of the date buttons takes you backwards one week or one month instead.The date appears just under the report title; if you select a date that is not today, this date will be different from the run date that appears in the report header.
Office - Choose to include only the records for a specific office, or include the records for all office locations in your practice.
Include Items - Select to include only records that are specifically assigned to the selected office, or choose the "with NO office listed" option to also include records that are not assigned to any office.
Appliance - Select which appliance to include on the report, or select to include All appliances. You can select multiple appliances by checking each description to include, or click C to clear all choices. ViewPoint remembers your selections for the next time you open this report.
-
Output Options - After selecting the report settings, click Ok to continue to your output choices. See "Manage Record Selection & Output" for details.
Report Title & Header - Whether you view the report on your screen or print it, the report title and run date appear in the header of each report page. If you used subgrouping or other report options, the subgroup description appears just under the report title so you know which criteria was used to generate the results. In addition, the report header can optionally include the exact subgroup criteria used to generate the report, instead of just the subgroup description.


