Manage Record Selection & Output
After entering your report or form choices, select your output settings to complete the process.
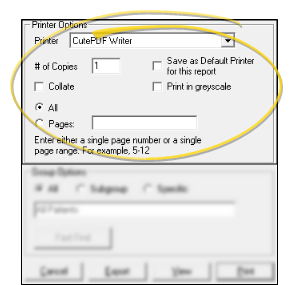
 Printer Options - To print the report on paper, complete the printer options. If you are going to export or view the report, ignore these settings. To capture the report with VP Document, select the ViewPoint PDF printer.

Printer to Use - Use the drop down menu to select the printer you want to use for this print job. You may send the output to any printer available to your workstation.
VP Document Capture - To send the report to VP Document instead of printing it, initiate the Capture
feature, then open another session of ViewPoint and select to print your report
to the ViewPoint PDF printer. Leave the capture window open while you print the report. See "Capture Documents" for details.
Copies / Collate / Pages - Choose the number of copies to print, whether to collate multiple-page output, and specify whether to print all pages or only certain pages of the report.
Save As Default - Enable this option if you want this report to default to using this printer whenever you run it.
Print in Greyscale - Enable this option if you want to print any colored areas of the report in black and white.
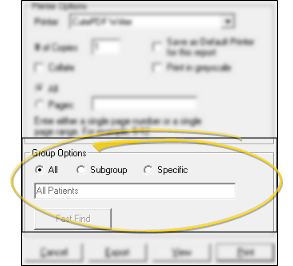
 Group Options - (Not available for all reports.) Choose the patients (or other parties) to include on the report.

All - Select
all records in your ViewPoint system. Depending on the report or form
you selected, records flagged inactive may be excluded.
Subgroup - Select the subgroup to use when generating this report or form. Only records that fit your selected subgroup as well as all other report parameters will be included. See "Create & Manage Subgroups" for details. The report will display the name of your selected subgroup just under the report name, so you know which criteria was used to generate the results.
Specific - Choose to include an individual patient (or responsible party or other appropriate record) on the report or form. If a patient record is already active, that patient's information will be loaded automatically. Otherwise, you use Fast Find (either typing information or swiping a registered reward card) to search for the patient to work with.
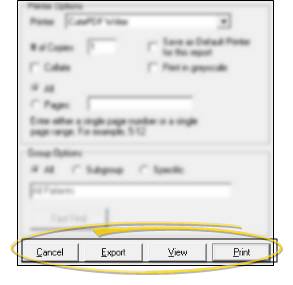
 Output Type - Select whether to print, view, or export the results of the report.

Export - Click Export, then select the type of file to create (i.e. .txt, .rtf), and choose a name and location for the file.
View - Click View to see the report results on your screen. You can then search and print the results as needed.
Print - Click Print to send the results to the selected printer.
![]() Printer Options - To print the report on paper, complete the printer options. If you are going to export or view the report, ignore these settings. To capture the report with VP Document, select the ViewPoint PDF printer.
Printer Options - To print the report on paper, complete the printer options. If you are going to export or view the report, ignore these settings. To capture the report with VP Document, select the ViewPoint PDF printer.![]() Group Options - (Not available for all reports.) Choose the patients (or other parties) to include on the report.
Group Options - (Not available for all reports.) Choose the patients (or other parties) to include on the report.![]() Output Type - Select whether to print, view, or export the results of the report.
Output Type - Select whether to print, view, or export the results of the report.


