Set Up VP Imaging Integration
Use your Image Integration tools to setup your VP Imaging properties.
-
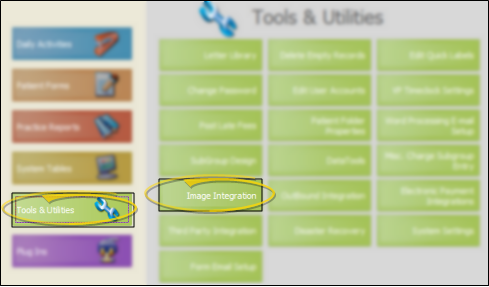
 Open Image Integration Options - ViewPoint main menu > Tools & Utilities > Image Integration.
 -
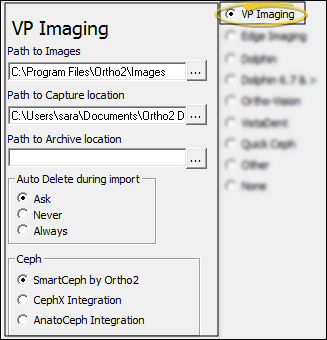
 Choose VP Imaging Options - Select VP Imaging as your integrated imaging package, and enter your imaging paths and properties.
 -
Save Your Changes - Click Ok to save the changes you have made and close the editing window.
More Information
Source Image Resolution - It is generally unnecessary to take digital images at full resolution: Doing so may significantly slow down the operation of VP Imaging, and will require images to be converted each time they are viewed on your screen.
Imported Image Size - All imported and scanned images are converted to the width specified in the [MaxImageWidth] section of your advanced settings file, up to a maximum width of 1280. The image size maximum helps prevent significant slowing down of your ViewPoint system during the import process.


