Set Up Contract Classes
Use the Contract Class
How to Get Here
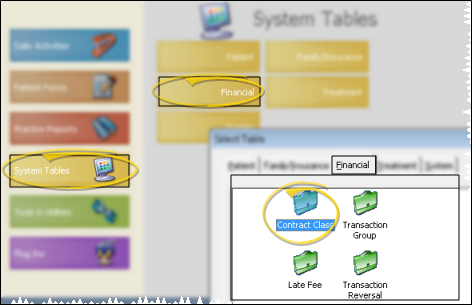
![]() Open Contract Class Table - ViewPoint main menu > System Tables > Financial > Contract Class.
Open Contract Class Table - ViewPoint main menu > System Tables > Financial > Contract Class.
Choose Your Settings
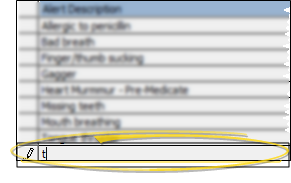
![]() Add a Description - Click in a blank field at the bottom of the
Add a Description - Click in a blank field at the bottom of the
Edit Descriptions - Click in the field you want to modify and type your changes, or cut, copy, and paste as needed. The list is re-alphabetized automatically.
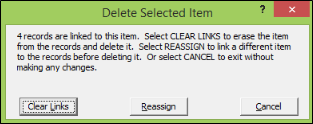
![]() Delete Descriptions - Select the record to work with, then press Delete on your keyboard. If the record is linked to patient folders, you can reassign them to a different description, or clear the links.
Delete Descriptions - Select the record to work with, then press Delete on your keyboard. If the record is linked to patient folders, you can reassign them to a different description, or clear the links.
Save Your Changes - Click Close to save the changes you have made and close the editing window.
More Information
Print -
Assign Classes to Contracts -
OrthoBanc Contract Class Description Recommended - If you use the OrthoBanc integration, we recommend you create one or more "OrthoBanc" contract class descriptions so that you can easily subgroup patients that use OrthoBanc payment processing. See "ViewPoint / OrthoBanc Integration" for details.
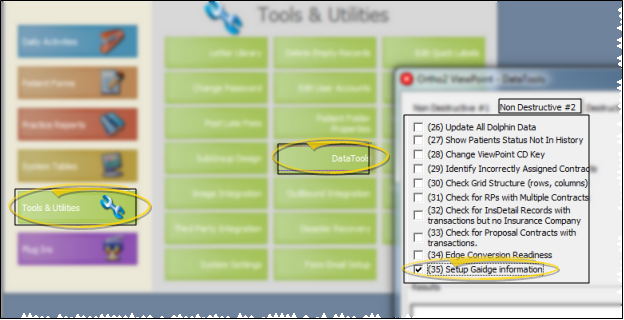
![]() Insert Standard Gaidge Responses - (Optional.) - Use Data Tool 35, found on the Non-Destructive #2 tab of the data tool window, to add standard Gaidge responses to your list. Any responses you have already created will not be affected. Note, however, that using the data tool will add Gaidge responses to all relevant tables, including Start Origin, Phase Classification, Contract Class, and Transaction Adjustment Classification. See "Use Data Tools" for details about running the tool.
Insert Standard Gaidge Responses - (Optional.) - Use Data Tool 35, found on the Non-Destructive #2 tab of the data tool window, to add standard Gaidge responses to your list. Any responses you have already created will not be affected. Note, however, that using the data tool will add Gaidge responses to all relevant tables, including Start Origin, Phase Classification, Contract Class, and Transaction Adjustment Classification. See "Use Data Tools" for details about running the tool.


