Superimposition
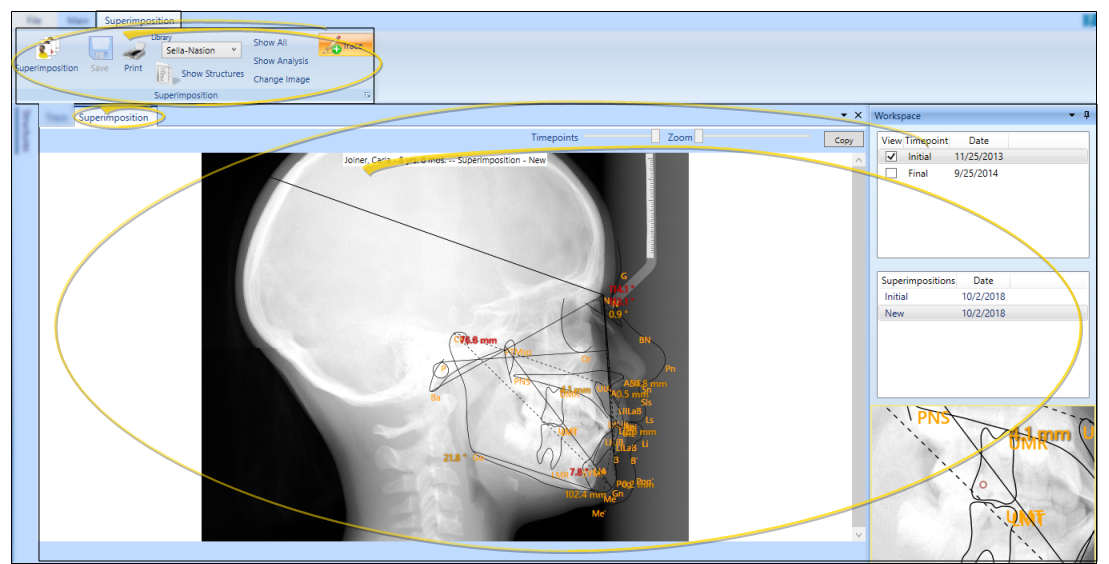
You use the SmartCeph Superimposition feature to layer and visualize different aspects and timepoints of a patient's SmartCeph images. You use the icons on the Superimposition ribbon to layer tracings, analysis, headfilms and photographs to provide you with additional treatment planning and progress data.
-
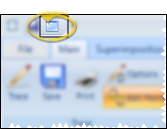
 Open Superimposition Window - First open the Superimposition ribbon bar, then click the
  Superimposition icon to create a Superimposition tab at the top of your work area. You can click the Superimposition icon again to create additional Superimposition tabs, then use the tabs to toggle among the Trace tab and your Superimposition tabs as needed, working on each window separately.
-
Select Timepoints - While in Superimposition mode, the top portion of the Workspace area lists all available ceph timepoints for the patient. Select each timepoint you want to include in the Superimposition. SmartCeph scales all timepoints to the calibration of the first one you select.
Use Saved Superimposition Instead - You can alternately select to open a saved superimposition from the list in the Workspace area.
-
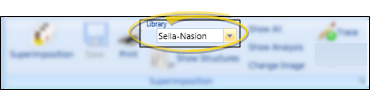
Align Timepoints - When you select to superimpose multiple timepoints, they are automatically lined up on
the plane selected from the Library drop down found on the Superimposition ribbon bar. If needed, you can, select a different plane from the Library menu, or manually align the images in anyway you choose, e.g., on the cranial base. To manually move an image, select it in the Timepoint list in your Workspace area, and then click and drag the image. To rotate, right-click it and hold while moving the mouse. (Moving a timepoint image is similar to placing a structure while tracing a ceph.)
-
Select Images to Display - Use the icons on the Superimposition ribbon bar to choose which image types to display for each selected timepoint. You can enable any combination of options to obtain the best display for your purposes.

Show Analysis - Enable / disable this tool to show / hide the analysis from the display.
Show Structures - Enable / disable this tool to show / hide the structures for this analysis.
Trace - Enable / disable this tool to show / hide the ceph tracing. Your trace options determine whether you see landmark abbreviations when the trace is displayed. See "Trace Options" for details.
Change Image - Click this tool to progress through the background image type: ceph , photo, or none.
Show All - Click this tool to toggle including all available image types.
![]() Additional Superimposition Tools
Additional Superimposition Tools
![]() Timepoint Slider - While in Superimposition mode, you can use the timepoint slider at the top of the work area to transition the focus of the display from one timepoint to the next. Slide the bar to the far left to display only the earliest timepoint you have selected. Slide the bar to the far right to display only the latest timepoint you have selected. Adjust the position of the bar in the middle to merge the selected timepoints on your screen. You can alternately enable the Show All option beside the slider to display all timepoints at equal intensity. (When Show All is enabled, the timepoint slider is disabled.)
Timepoint Slider - While in Superimposition mode, you can use the timepoint slider at the top of the work area to transition the focus of the display from one timepoint to the next. Slide the bar to the far left to display only the earliest timepoint you have selected. Slide the bar to the far right to display only the latest timepoint you have selected. Adjust the position of the bar in the middle to merge the selected timepoints on your screen. You can alternately enable the Show All option beside the slider to display all timepoints at equal intensity. (When Show All is enabled, the timepoint slider is disabled.)

Zoom Window - The Zoom Window appears at the bottom portion of the Workspace area, magnifying the area around your current cursor position in the work area. As you move your pointer across the image, the zoom focus changes so that the area you are working on is centered. You can alter the magnification ratio and enable / disable markings in your Zoom Window with your Trace Options settings.
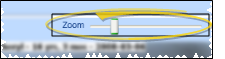
![]() Zoom Slider - You can click and drag the zoom slider at the top of the work area to make the image bigger or smaller. If you make the image larger than the window, scroll bars will appear at the bottom and / or right edges of the window so you can move the focus to see the entire image.
Zoom Slider - You can click and drag the zoom slider at the top of the work area to make the image bigger or smaller. If you make the image larger than the window, scroll bars will appear at the bottom and / or right edges of the window so you can move the focus to see the entire image.
![]() Toggle Full Screen Mode - Select the
Toggle Full Screen Mode - Select the  Full Screen Toggle icon from the Quick Access toolbar at the top of the SmartCeph window to maximize / minimize the SmartCeph work area. When full screen mode is enabled, SmartCeph minimizes the ribbon bar and pins the workspace and structures areas so that your main work area space is as large as possible, maximizing the visual presentation of your SmartCeph analysis.
Copy or Print the Image - Use the Copy button at the top of the work area, or the Print icons on the ribbon bar to make a copy or a print-out of the current image. The result will include an actual-size picture of the current image, including any overlays. For example, if you have displayed the tracing, analysis, and facial photo, the resulting picture will include all these items. But if you disable all other features so you are only looking at the ceph, your picture will include only the ceph image. When you print a superimposition, you can select to print in ABO-acceptable format.
Email the Image - Send the current image as an email attachment. The result will include an actual-size picture of the current image, including any overlays. For example, if you have displayed the tracing and analysis, the resulting picture will include both these items. But if you disable all other features so you are only looking at the ceph, your picture will include only the ceph image. See "Email an Image" for details.
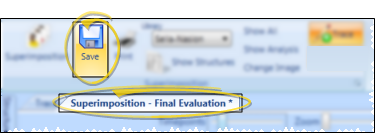
If you have made changes to your superimposition, an asterisk appears on the Superimposition ribbon bar tab. Click  Save from the Superimposition ribbon bar, or the Quick Access toolbar, to save these changes. If this is the first time you have saved a superimposition, you are prompted for a description. The next time you open a Superimposition window for this patient, you will be able to load your saved superimposition to review and/or edit it.