Sign-in Confirmation Options
Use the Closing tab of your Sign-In editor to set up the messages and optional image your patients see as they complete the patient sign-in process. These settings are workstation-specific: Other workstations in your
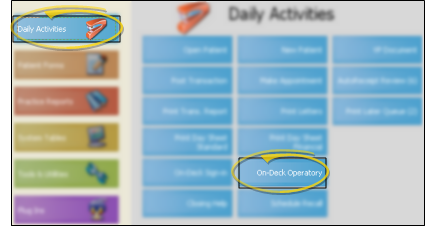
How to Get Here
-
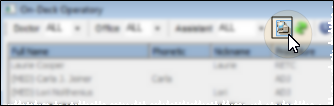
 Open
Open  Properties.
 -
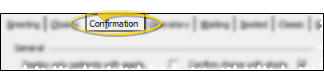
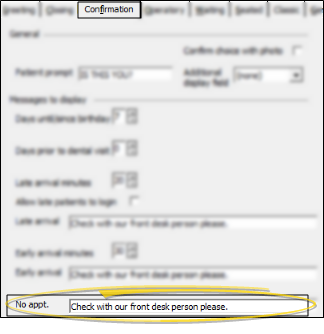
Open Confirmation Tab - Click the Confirmation tab at the top of the window. The settings available will be a little different, depending on whether you are using the Classic sign-in style or the Contemporary style.
Choose Your Settings
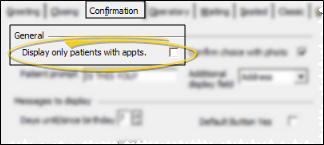
![]() Appointment Today - (Classic style only: This feature is always enabled for the Contemporary style.) Enable the Display Only Patients with Appointments option to include only patients with appointments
scheduled for that day on the patient list. Enabling this option often shortens
the list of names, making it easier for your patients to find their name. Otherwise, all
patients whose name matches the searched name are included in the list.
Appointment Today - (Classic style only: This feature is always enabled for the Contemporary style.) Enable the Display Only Patients with Appointments option to include only patients with appointments
scheduled for that day on the patient list. Enabling this option often shortens
the list of names, making it easier for your patients to find their name. Otherwise, all
patients whose name matches the searched name are included in the list.
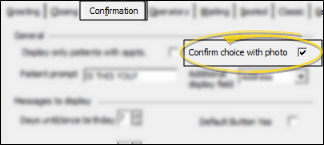
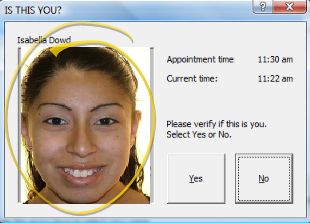
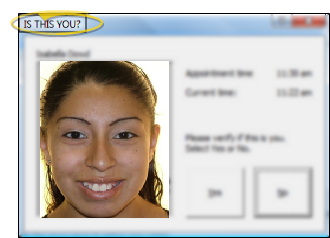
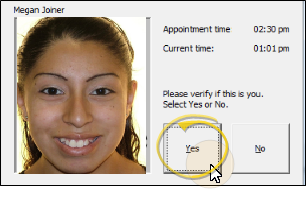
![]() Patient Photo - Enable this option to include an image of the patient on the
confirmation screen
Patient Photo - Enable this option to include an image of the patient on the
confirmation screen
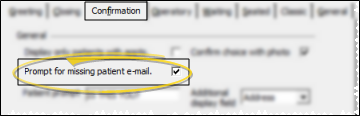
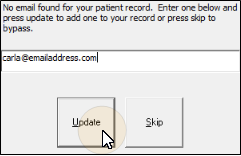
![]() Prompt for Missing Email - (Classic style only.) Enable this option if you want the sign-in system to prompt patients to provide you with their email address, if one is not already recorded in their ViewPoint patient folder. If they choose to enter an address, the Email1 field of their ViewPoint patient folder is updated automatically.
Prompt for Missing Email - (Classic style only.) Enable this option if you want the sign-in system to prompt patients to provide you with their email address, if one is not already recorded in their ViewPoint patient folder. If they choose to enter an address, the Email1 field of their ViewPoint patient folder is updated automatically.
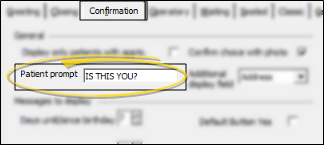
![]() Patient Confirmation Prompt - Type a message that prompts your patients to confirm that the displayed information
is theirs. We recommend the default prompt Is this you or something similar.
Patient Confirmation Prompt - Type a message that prompts your patients to confirm that the displayed information
is theirs. We recommend the default prompt Is this you or something similar.
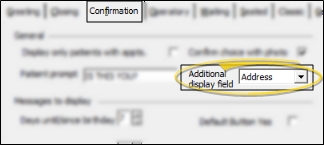
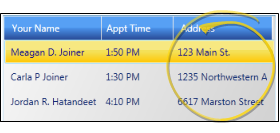
![]() Additional Confirmation Display Field - You can display an additional field of information in the list of matching names that appears after the patient types his or her name into the Patient Sign-In prompt. Select Address, Birthday, Phone number, or None. This setting
helps avoid the confusion that could result from multiple patients with identical
or similar names.
Additional Confirmation Display Field - You can display an additional field of information in the list of matching names that appears after the patient types his or her name into the Patient Sign-In prompt. Select Address, Birthday, Phone number, or None. This setting
helps avoid the confusion that could result from multiple patients with identical
or similar names.
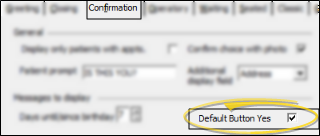
![]() Confirmation Button Default - (Classic style only.) Enable the Default Button Yes option to enable YES as the default response to
the confirmation screen. Then, if the
displayed information is correct, the patient can just press Enter to sign
in. Otherwise, NO is the default response, and the patient
is required to click the Yes button to sign in.
Confirmation Button Default - (Classic style only.) Enable the Default Button Yes option to enable YES as the default response to
the confirmation screen. Then, if the
displayed information is correct, the patient can just press Enter to sign
in. Otherwise, NO is the default response, and the patient
is required to click the Yes button to sign in.
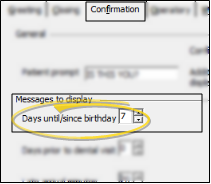
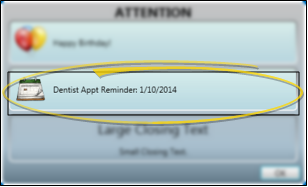
![]() Birthday Notice - Enter the number of days until / since the patient's birthday to include a special birthday message. Setting the number of days to 0 disables the message.
Birthday Notice - Enter the number of days until / since the patient's birthday to include a special birthday message. Setting the number of days to 0 disables the message.

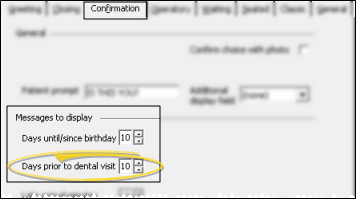
![]() Dental Visit Notice - Specify the number of days before a dental visit is due
to display a reminder message . To disable the message, set this option to
0 (zero).
The message includes the dental visit date suggested on the Milestones
Dental Visit Notice - Specify the number of days before a dental visit is due
to display a reminder message . To disable the message, set this option to
0 (zero).
The message includes the dental visit date suggested on the Milestones
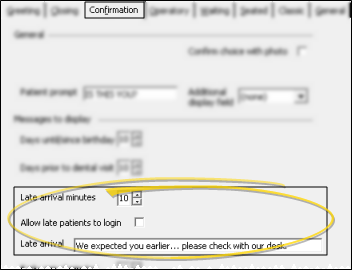
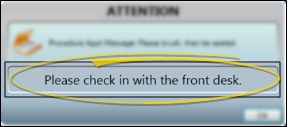
![]() Late Arrival Options - Several settings work together to display a special message when patients are late for their appointments, and optionally prevent them from signing in. 1) Use the Late Arrival Minutes field to enter the number of minutes after the scheduled appointment time you consider a patient late. 2) Enter the text you would like to display in the Late Arrival Message field. 3) Enable the Allow late patients to sign in option if you want patients to be able to sign themselves in anyway. To disable the message, set the number of minutes to 0 (zero). Setting the late arrival minutes to 0 also enables late patient sign in.
Late Arrival Options - Several settings work together to display a special message when patients are late for their appointments, and optionally prevent them from signing in. 1) Use the Late Arrival Minutes field to enter the number of minutes after the scheduled appointment time you consider a patient late. 2) Enter the text you would like to display in the Late Arrival Message field. 3) Enable the Allow late patients to sign in option if you want patients to be able to sign themselves in anyway. To disable the message, set the number of minutes to 0 (zero). Setting the late arrival minutes to 0 also enables late patient sign in.
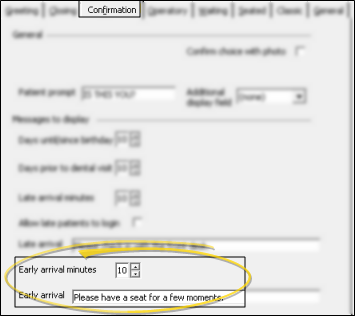
![]() Early Arrival Options - Several settings work together to display a special message when patients are too early for their appointments. Use the Early Arrival Minutes field to enter the number of minutes before the scheduled appointment time you consider a patient excessively early.
Early Arrival Options - Several settings work together to display a special message when patients are too early for their appointments. Use the Early Arrival Minutes field to enter the number of minutes before the scheduled appointment time you consider a patient excessively early.
![]() No Appointment
No Appointment

Save Your Changes - Click Ok to save the changes you have made and close the editing window.