Use the
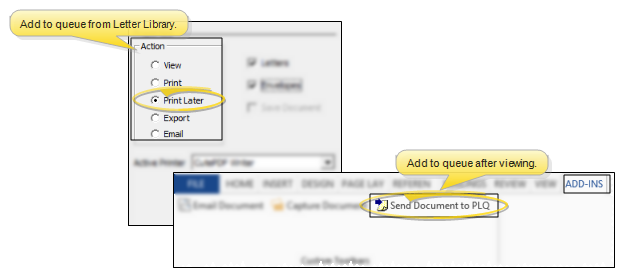
Add Documents to the Queue![]() As you select mail merge documents and recipients, select the Print Later merge action to send the output to your Print Later Queue rather than viewing, printing, or emailing them immediately. Or, if you first view a mail merge document, you can select Send Document to PLQ from the Add-Ins menu to add the document, including any changes you have made, to the Print Later Queue.
As you select mail merge documents and recipients, select the Print Later merge action to send the output to your Print Later Queue rather than viewing, printing, or emailing them immediately. Or, if you first view a mail merge document, you can select Send Document to PLQ from the Add-Ins menu to add the document, including any changes you have made, to the Print Later Queue.
After you have added documents to your queue, open the
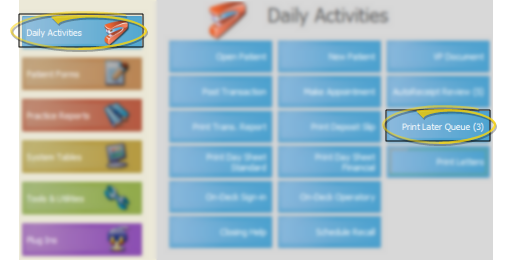
Open the Print Later Queue![]() ViewPoint main menu > Daily Activities > Print Later Queue. Notice the Print Later Queue button indicates the number of documents waiting to be sent.
ViewPoint main menu > Daily Activities > Print Later Queue. Notice the Print Later Queue button indicates the number of documents waiting to be sent.
Add Notes![]() Use the Note column of the
Use the Note column of the
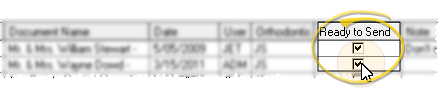
Approve Documents![]() (Optional) Check the Ready
(Optional) Check the Ready
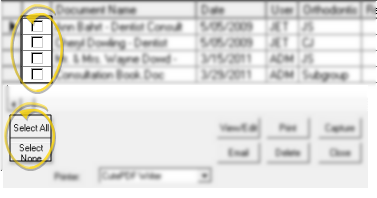
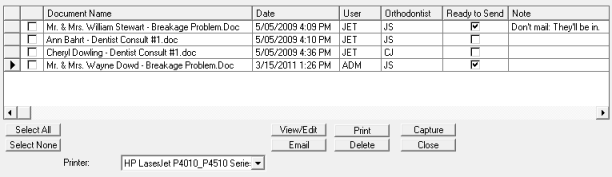
Choose Documents to Work With![]() Click
Click
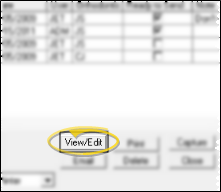
View / Edit Selected Letters![]() Click
Click
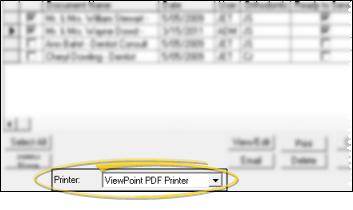
Choose Printer![]() If you are going to print the selected documents, all will be sent to the printer you specify in this window, regardless of the
printer you may have chosen when you first selected the letter. To send queued letters
to different printers, you must select and print the letters for one printer, then
return to the Print Later queue to select and print a group of letters for a different
printer. If you email or capture the letter(s), ViewPoint ignores your printer selection.
If you are going to print the selected documents, all will be sent to the printer you specify in this window, regardless of the
printer you may have chosen when you first selected the letter. To send queued letters
to different printers, you must select and print the letters for one printer, then
return to the Print Later queue to select and print a group of letters for a different
printer. If you email or capture the letter(s), ViewPoint ignores your printer selection.
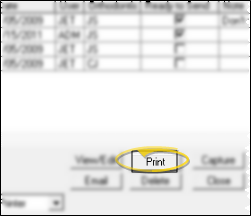
Print Selected Letters![]() Click Print to generate the selected letters with the selected printer. As letters
are printed, they are added to the appropriate Correspondence
History and removed from the queue.
Click Print to generate the selected letters with the selected printer. As letters
are printed, they are added to the appropriate Correspondence
History and removed from the queue.
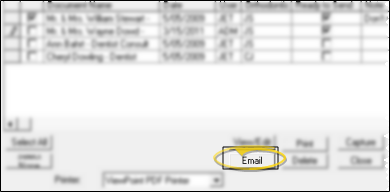
Email Selected Letter![]() You can email only one letter at a time with the Print Later queue. When you click Email you are prompted for a Subject, then the letter is sent immediately. See "Email Merge Letters" for details. If you attempt to send a letter, but a valid email address does not exist, you can optionally generate a paper copy of the letter for you to mail, or see a message indicating the problem along with the patient's primary ID number so you can go to the patient folder and add the required address. (See "Mail Merge Email Setup" for details about these options.)
You can email only one letter at a time with the Print Later queue. When you click Email you are prompted for a Subject, then the letter is sent immediately. See "Email Merge Letters" for details. If you attempt to send a letter, but a valid email address does not exist, you can optionally generate a paper copy of the letter for you to mail, or see a message indicating the problem along with the patient's primary ID number so you can go to the patient folder and add the required address. (See "Mail Merge Email Setup" for details about these options.)
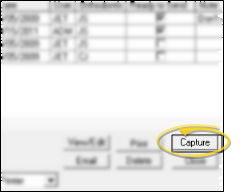
Capture Selected Letters![]() You can capture a merge letter to the correspondence history directly from the
You can capture a merge letter to the correspondence history directly from the
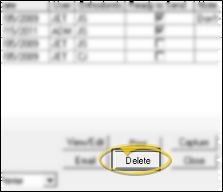
Delete Selected Letters![]() Click Delete to remove the selected merge letter(s) from your
Click Delete to remove the selected merge letter(s) from your
Sort Data - Click a column heading to sort the data by that column. Click the same column heading to reverse the sort order.
 │
│  │
│  │
│ 
Ortho2.com │1107 Buckeye Avenue │ Ames, Iowa 50010 │ Sales: (800) 678-4644 │ Support: (800) 346-4504 │ Contact Us
Chat with Software Support │Chat with Network Engineering │ Chat with New Customer Care
Remote Support │Email Support │ Online Help Ver. 12/18/2015