Tooth Elastics Table
Use the
Choose Your Settings
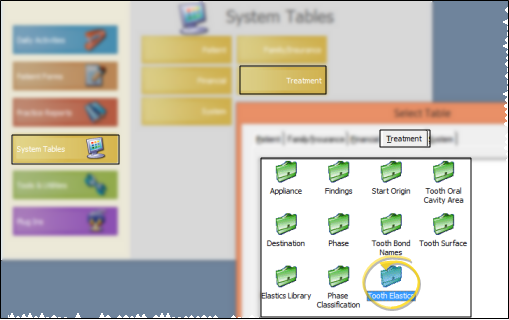
![]() Open Tooth Elastics Table - ViewPoint main menu > System Tables > Treatment > Tooth Elastics.(This is different from the Elastics Library table, which contains your standard elastics placement templates.)
Open Tooth Elastics Table - ViewPoint main menu > System Tables > Treatment > Tooth Elastics.(This is different from the Elastics Library table, which contains your standard elastics placement templates.)
![]() Select Existing Record - Choose an existing record from the drop down list at the bottom of the window, then edit the details as needed. You can also click Previous and Next to advance through all your choices. You can enable either the Show All or Show Active Only option to include / exclude inactive records in the dropdown list and Previous / Next toggle.
Select Existing Record - Choose an existing record from the drop down list at the bottom of the window, then edit the details as needed. You can also click Previous and Next to advance through all your choices. You can enable either the Show All or Show Active Only option to include / exclude inactive records in the dropdown list and Previous / Next toggle.
![]() Create a New Record - Click New
Create a New Record - Click New
Edit Elastics Details- Select the elastics type to work with, and make your changes to the description and the color.
Inactive / Active Toggle - Once you create a record, you cannot delete it. You can, however, flag it Inactive. Records you flag as Inactive are not available for general use, but they remain in your system for reporting and other data collection needs. In addition, you can toggle records back to Active whenever needed. While you cannot add inactive elastic types to tooth charts, any tooth charts that already have this elastics type on it will remain unaffected.
Save Your Changes - Click Exit to save the changes you have made and close the editing window.


