Elastics Library
Use the Elastics Library
Choose Your Settings
-
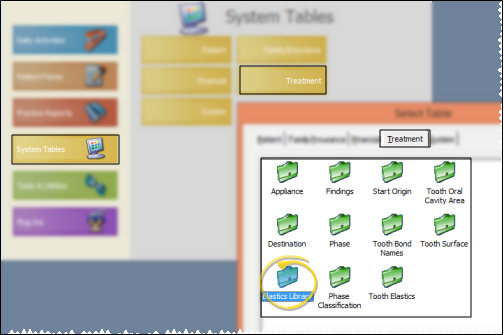
 Open Elastics Library Editor - ViewPoint main menu > System Tables > Treatment > Elastics Library. (This is different from the Tooth Elastics table, which you use to set up the types of elastics you use.)
 -
 Choose a Template - You can make changes to an existing template, create a brand new template, or copy a template to a new name.
 -
Choose Elastics Type - Select the elastics type you want to use from the Elastics dropdown list. (See "Tooth Elastics Table " for details about maintaining your list of elastics types.)
-
Add Elastics- Click and hold the first tooth you want to work with. Drag your cursor to the last tooth you want included in the group and release your mouse button.
-
Save Changes - Click Save to save any changes you make to the names.
-
Exit - Click Exit to close the table window. If you made changes to the library, be sure to click Save first, or your changes will be ignored.
More Information
Clear Elastics - Select a template to work with, and click the Clear Elastics button to erase all elastics from the template and start over.
Delete Template - Select the template to work with, then click Delete. Any tooth charts that already have this template applied will remain unaffected.
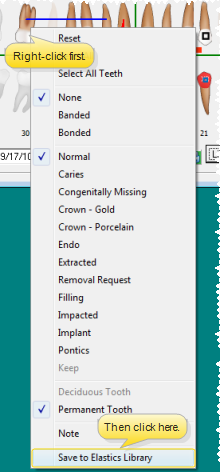
![]() Save Elastics to Library - In addition to creating elastics templates with the Elastics Library table, you can create a template from a patient's tooth chart by clicking the options button ( [V]) at the bottom of the tooth chart and selecting Save to Library.
Save Elastics to Library - In addition to creating elastics templates with the Elastics Library table, you can create a template from a patient's tooth chart by clicking the options button ( [V]) at the bottom of the tooth chart and selecting Save to Library.


