Alert Table
Use the Alerts table to create a list of standard alert descriptions to enter into your patient folders. Then, when you add an alert to a patient folder, you can simply choose a description from your list as-is, as well as type a unique alert for the patient.
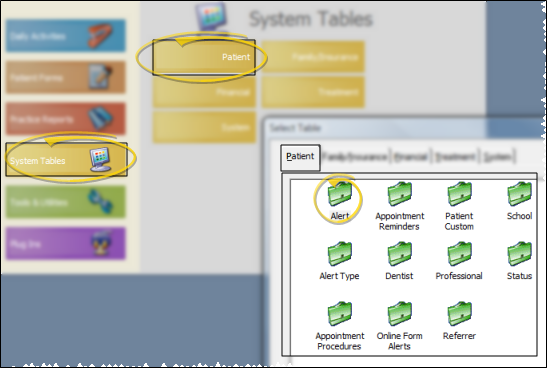
Select System Tables from the ViewPoint main menu. Then from the Patient tab, open the Alert table.
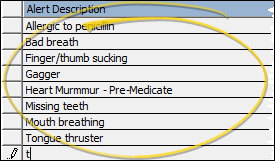
Click in the description you want to modify, or use the blank field at the bottom of the table to create a new description. You can type your alert description, or use tools.
Select the record to work with, then press Delete on your keyboard. If the record is linked to patient folders, you can reassign them to a different description, or clear the links.
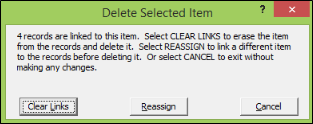
Clear Links - Choose this option to erase this response from any patient folders it was assigned to, as well as removing the record from the table.
Reassign - Choose this option to select a different response to use in any affected patient folders. The original response will be replaced by your chosen response in all folders where the original response had been assigned. The record will then be removed from the table.
Cancel - Choose this option to exit without deleting the record.
Click Close to save the changes you have made and close the editing window.

Set Up Online Forms Alerts - Use the Online Form Alerts table to set up alerts to trigger when a patient's online form response(s) match your alert criteria. You also use this table to set up periodic online form update notices, and alert you when an online form needs signatures.See "Online Form Alerts" for details.
Set Up Default Alert Stops - Use the Properties button that appears on a patient's Alerts Editor window to set up your default alert stop locations. See "Patient Alerts" for details.
Print - Click Print
to send the list to your printer.You
may also want to print the list as a report. See "Alert List" for details.