Custom Analysis
In addition to the standard analysis choices built into SmartCeph, you can use the Custom Analysis feature to create your own analysis templates, or Ortho2 can, at your request, provide you a custom analysis for a fee. A custom analysis can include landmarks, planes, or variables from standard SmartCeph analyses, or your own alternate sources. In the case of custom analyses, the customer verifies the accuracy of the implementation of the analysis.

-
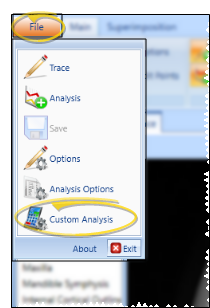
 Open Custom Analysis Window - Select the
  Custom Analysis icon from the SmartCeph File ribbon bar.
 -
Edit or Create Custom Analysis - In the Details section of the window, either choose an existing custom analysis from the drop down list, or click New to create a new analysis from scratch. (If you have custom analysis files that are not listed, be sure the Path to Custom Analysis field of your Analysis Options is correct. See "Analysis Options" for details.)
-
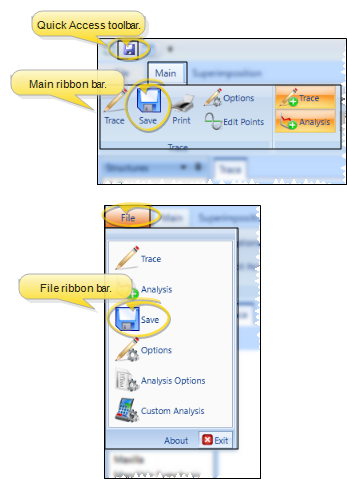
Save Changes - Click
 Save in your Quick Access toolbar, Main ribbon bar, or File ribbon bar (or press Ctrl+S on your keyboard) to save any changes you have made.
Any time you save changes to a custom analysis, you must exit and re-open SmartCeph before those changes will take effect.