Set Up Weekly Scheduling Templates
Use the Weekly Templates feature to set up the default scheduling template to use for each day of the week. You can use the same defaults over and over, or create multiple weekly sets of defaults to provide for rotating and changing scheduling needs.
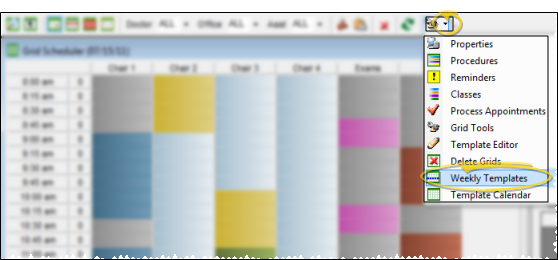
From the Grid Scheduler toolbar, click the Grid Tools drop down button and select the Weekly Templates option. (Get help opening your Scheduler.)
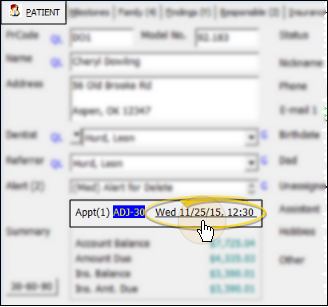
You can open your Grid Scheduler from the ViewPoint main menu, ViewPoint toolbar, or ViewPoint shortcut menu, or by pressing Ctrl+G on your keyboard while ViewPoint is open. In addition, you can open your schedule to a specific appointment directly from the Patient tab of the patient folder.
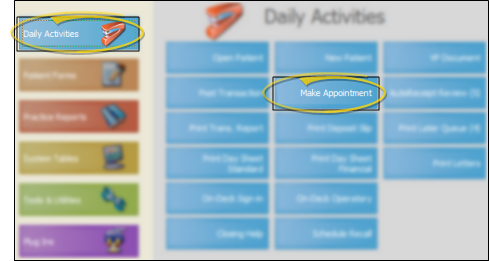

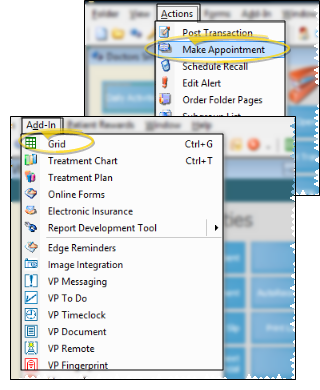
From the ViewPoint shortcut menu, either open the Actions menu (Alt+A) and choose Make Appointment, or open the Add-In menu (Alt+D) and choose Grid.
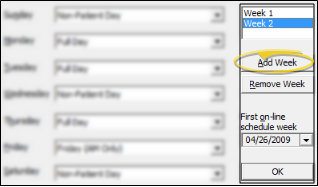
By default, your system includes one "Week". If you do not work the same schedule every week, but regularly rotate among two or more schedules, click Add Weekto create those weeks. As your schedule progresses, ViewPoint will rotate through the templates automatically.
For example, you might create a two-week schedule if you work every day in one office for a week, then work certain days in a satellite office every other week. If your schedule is less regular, set your basic schedule here, then use the Template Calendar tools to assign templates to the non-standard days.
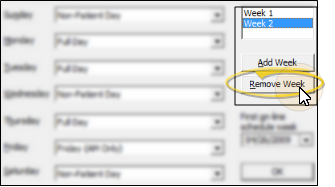
To delete a week you don't need any more, select the week to work with, then click Remove Week. (You cannot remove "Week 1".)
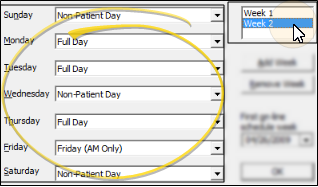
Select the week to work with, then assign the default grid template for each day of the week from your list of active templates. If your system includes multiple weeks, be sure to select an appropriate template for each day.
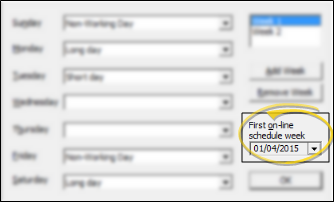
Enter the date your schedule begins in the first on-line schedule week field. This date must always be a Sunday.
Click Ok to save the changes you have made and close the editing window.


