 SmartCeph button > Custom Analysis.
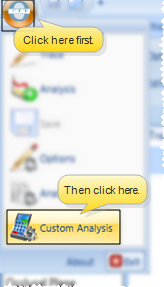
Use the Custom Analysis option to create and manage your own analysis to use when tracing your patients' cephs.
SmartCeph button > Custom Analysis.
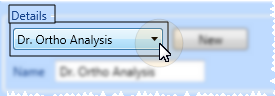
Select analysis to work with - Choose a name in the Details section of the Custom Analysis window to select an existing custom analysis to work with. (If you have custom analysis templates that are not listed, be sure the Path to Custom Analysis field of your Analysis Options is correct.)
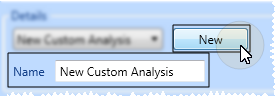
Create a new custom analysis - Click New, then enter a descriptive name, and complete the analysis details, described below.
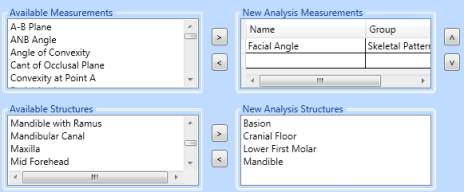
Select measurements & structures to use - Use the [<] and [>] arrows to move measurements and structures from one column to the other. When you trace a ceph, you will be prompted to place each item in the New Analysis columns. Note that you can use the arrows beside the New Analysis Measurements column to reorder these items if needed.
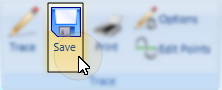
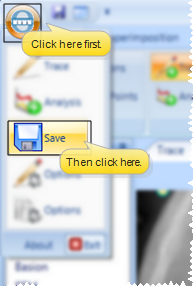
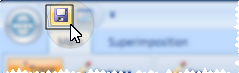
Save your work by selecting  Save on the ribbon bar, SmartCeph button, or Quick Access toolbar.
Save from ribbon bar:
Save from SmartCeph button:
Save from Quick Access toolbar:
Superimposition requirement - In order to align the ceph on the lateral facial photo for superimposition, it is necessary to include Upper Soft Tissue and Lower Soft Tissue in the New Analysis Structures column.
Reload SmartCeph requirement - Anytime you save changes to the Custom Analysis options, you must exit and re-enter SmartCeph before those changes will take effect.
 │
│  │
│  │
│ 
Ortho2.com │1107 Buckeye Avenue │ Ames, Iowa 50010 │ Sales: (800) 678-4644 │ Support: (800) 346-4504 │ Contact Us
Chat with Software Support │Chat with Network Engineering │ Chat with New Customer Care
Remote Support │Email Support │ Online Help Ver. 12/18/2015


